
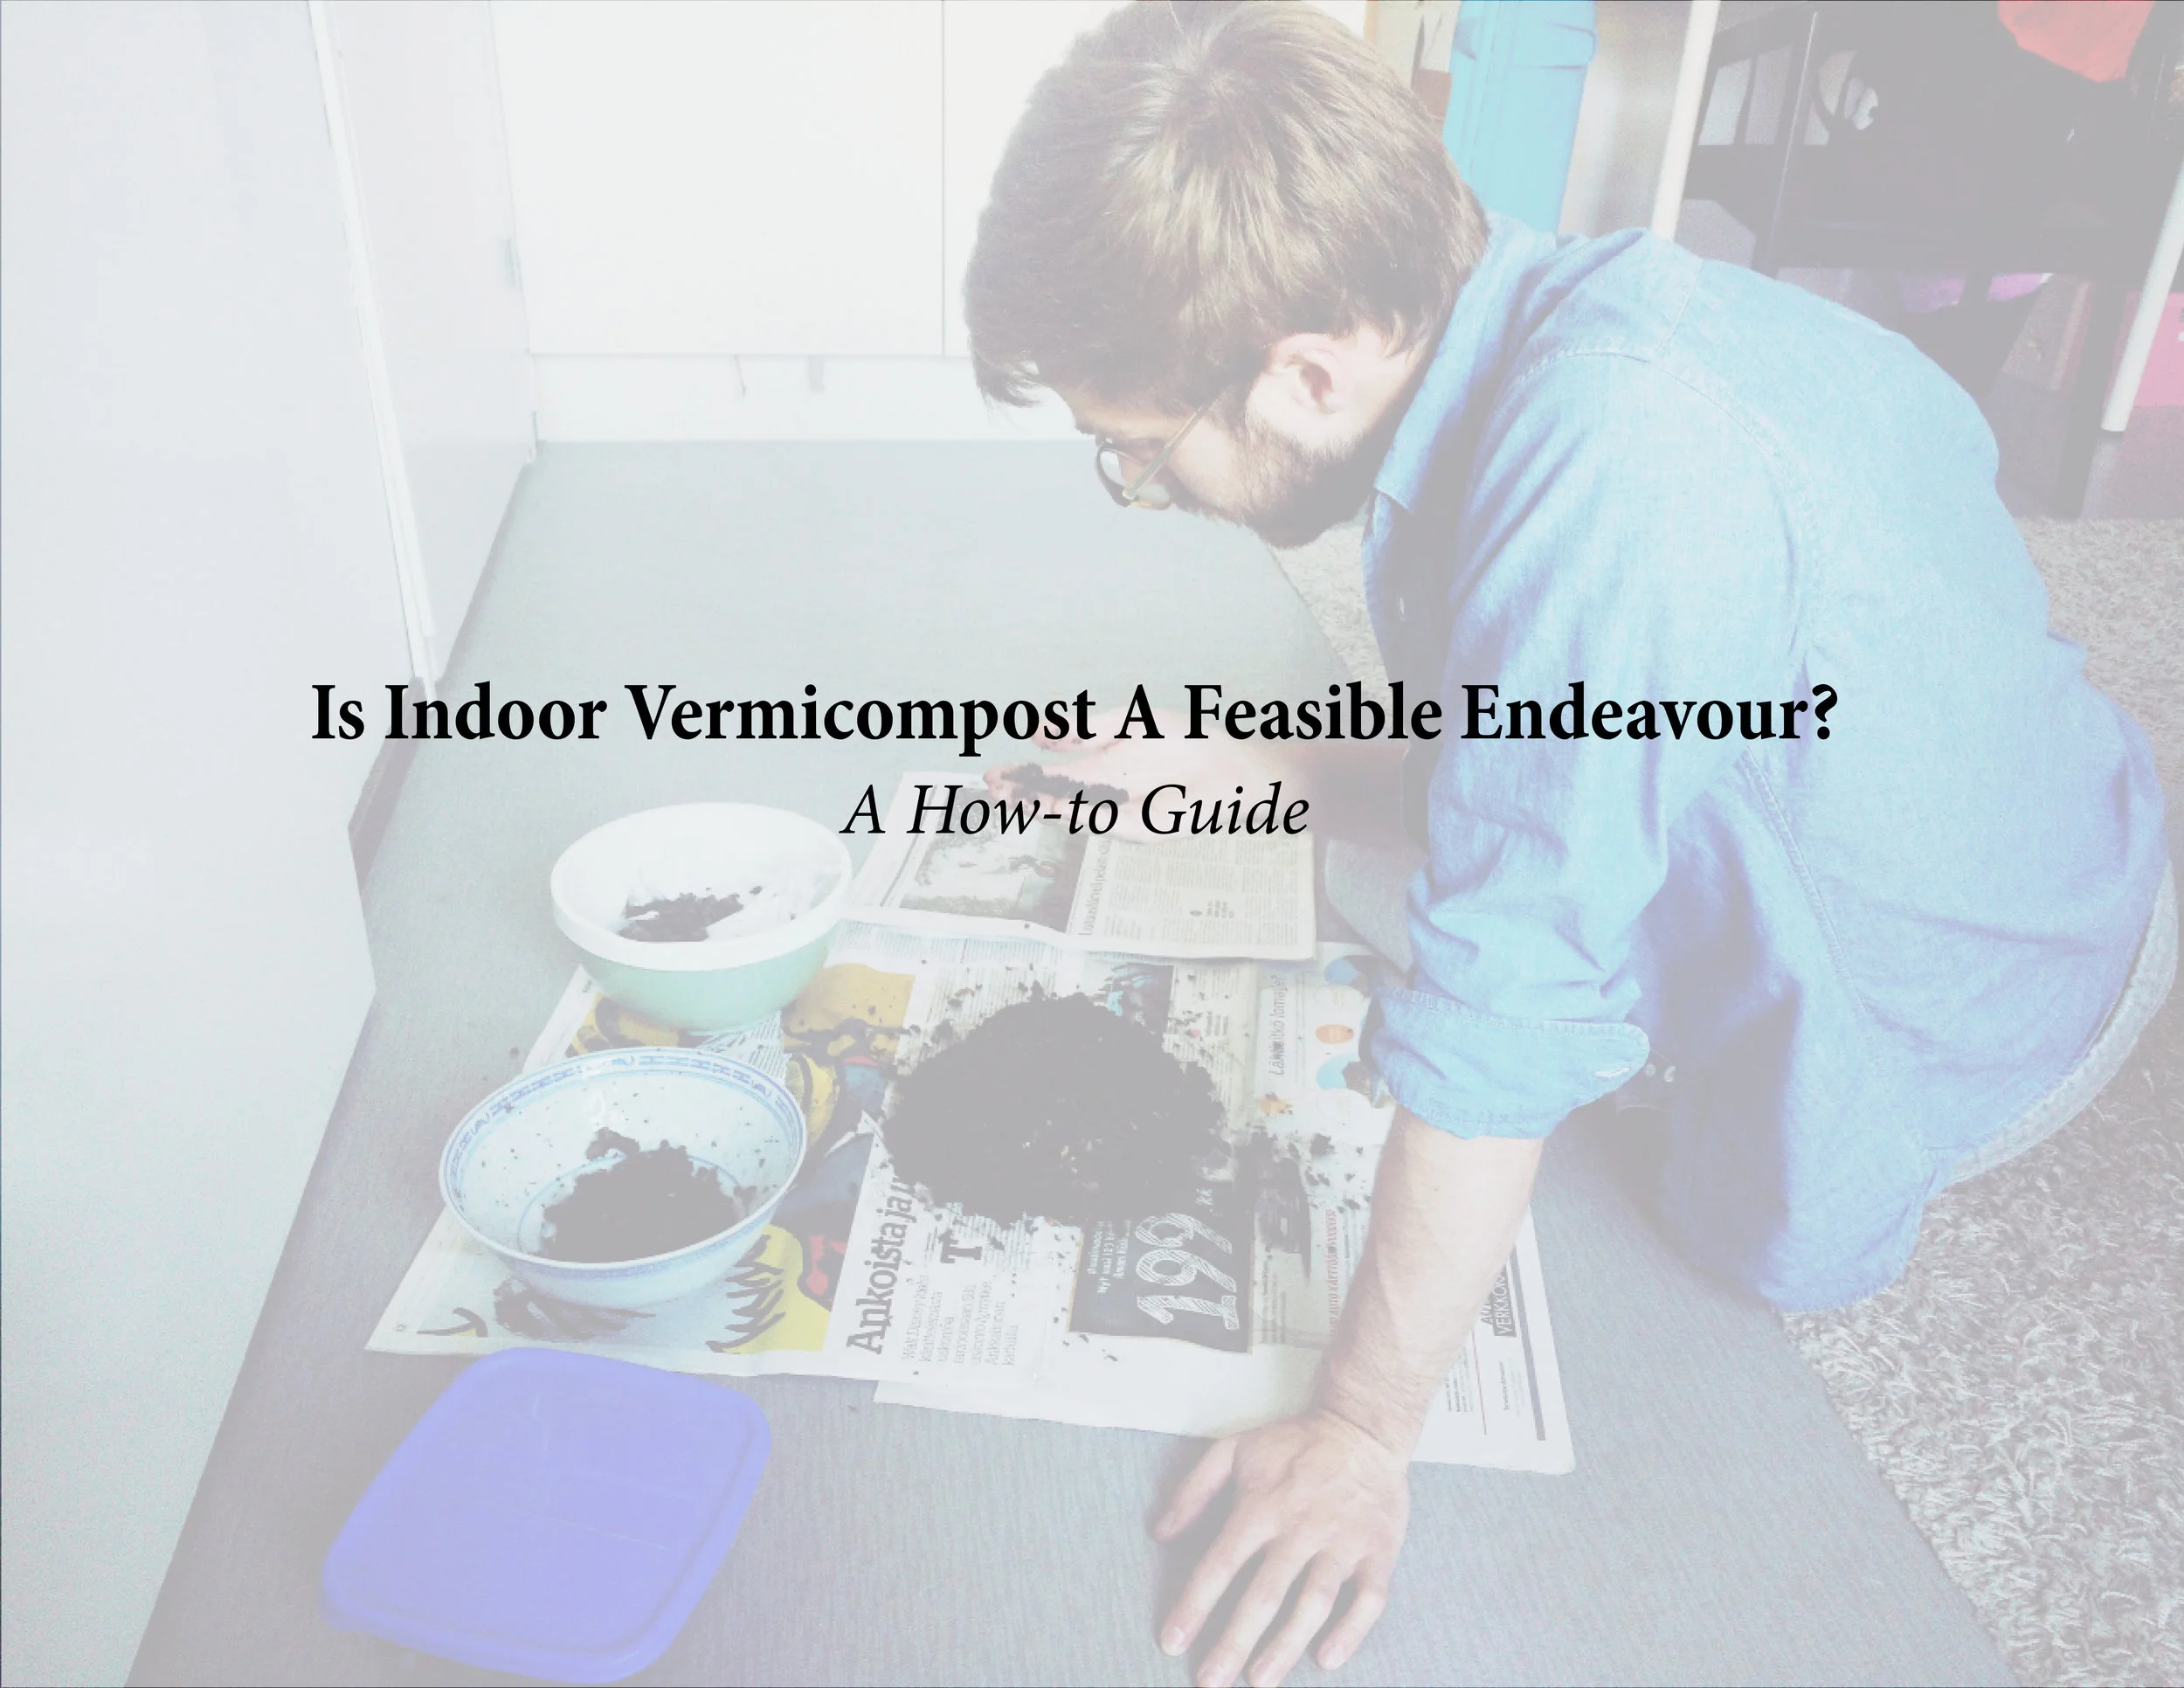
Pet Project 2017
Joseph Savage
Over the past year I have been exploring and experimenting with indoor vermicomposting. My goal was to produce food from food scraps, thus closing the loop between production and consumption. My experience has been challenging at times, but ultimately I have been pleased with the quality of the process and results. Now I wish to share with you how to take care of your own vermicompost system to quickly and easily produce compost at home.
How To Read This:
If you are interested in vermicompost, but aren’t sure it’s for you, the introduction and first section might convince you.
If you are interested in vermicomposting, and want to jump right in - go straight to the How-To section.
If you are interested in my learning process, well, that’s the whole thing!
Introduction
What Is Vermicomposting
Vermicomposting is when you use worms to facilitate the composting process. They allow food waste to be turned into highly nutritious vermicompost, which is an excellent fertilizer. The worms also filter the composted matter, reducing contaminants. Furthermore, vermicompost can be done rapidly, on a small scale, and without the offgassing of other composting methods. These factors appear to make it favorable for urban use, but I found few practitioners currently sharing their experiences indoors.
Typically a vermicompost system uses opaque plastic containers, into which a mixture of bedding (newspaper, leaves, etc) and food (Mostly food scrap; lettuce, peppers, etc) is placed. The worms then digest this material over a period of time, and then it is harvested as worm castings. Some outdoor systems also produce worm tea, and some systems are fed once and then left, while others are fed regularly for a while. Worm castings can then be mixed with soil to provide fertilizer for plants, which in turn provide more material to be used in the vermicompost system.
How Can Small-Scale Composting Help The World
When we dispose of food waste there are many costs. That ‘waste’ has cost many resources to grow and transport, and still contains beneficial nutrients. If we dispose of that waste, we are also disposing those nutrients and resources. By utilizing small scale composting we can close the loop and put those nutrients and resources back into the ecosystem. Once we have created the composted, it can be used to fertilize fields, reducing reliance on unsustainable fertilizers. It could also be crucial to reduce the transportation cost of food, but keeping the resources close to their consumption. Small scale composting may not save the world on its own, but when coupled with other sustainable food consumption and production practices composting is one step towards a more sustainable future.
Challenges Of Vermicompost Indoors
Creating a Vermicompost system for the urban environment has its own set of requirements and complications that more common rural systems don’t. The big challenge for the urban environment is the smells and pests commonly associated with compost. When food decomposes naturally, it produces gasses and provides a host for pests. When the decomposition process is accelerated, the food is composted before it has a chance to appeal to pests. This requires that the consumption of the vermicompost bin is not overwhelmed, giving the worms time to digest all the present food. The benefit of vermicompost over other systems is primarily in the time scale. If you put food waste into this system, it will have decomposed in a matter of days. In other systems, this could be anywhere from weeks to months. Indoor vermicompost systems also work year round, as they aren’t affected by the seasonal changes that conventional outdoor systems are subject to.
Outline Of This Document
Next in this document I will go through my own reasons and expectations of what it would be like to keep worms at home. I wasn’t sure how people would react to it, and I wasn’t sure it would work without problems. In the third section I will walk you through my learning process. It wasn’t all roses, and I made some mistakes, but I learnt a lot and improved on my design. In the Fourth section I will give a little How-To basics, to help you skip the mistakes I made and get started quickly. In the last section I will go into detail about what’s next, and my future plans. I hope to get more into urban farming and using the compost.
Personal Reasons and Expectations
Background
After a semester long experience of the Creative Sustainability program, one might feel a bit powerless in the world, as a small part in a big system. At the same time, I was exposed to many new and fairly radical ideas. This experience set the stage for my Pet Project, which combined with my desire to make a change in my habits.
Back home, in the US, I have helped my parents keep a compost bin. I think we’ve been doing this for at least 10 years, and there's no need to stop. At home, the bins (yes, plural) provide fertilizer for our yard and outdoor plants. I’ve firsthand seen the benefits of compost, but at the same time I always dreaded taking the food scraps out to the compost bin. In my experience a compost bin was a smelly, fly-ridden necessity, and one that I didn’t enjoy at the time.
During my bachelors, I felt wasteful throwing my usable food waste into the trash, but I didn’t have an alternative. I didn’t have the outdoor space, and there was no bio-collection where I lived. I decided one week to experiment with an indoor composting system, but it rapidly became smelly and gross, showing no signs of turning into soil.
First Ideas
It wasn’t until this year that everything came together and I was willing to try again. My experience with CS minor and exposure to ideas alternative to my norm led me to research sustainable food practices. At first I looked into aquaponics, hydroponics, and other home food production methods. What I realized was that I had no experience and very little means to cope with any mistakes. If I started keeping fish in my 5fth floor apartment, a leak would be disastrous! From there I looked into the whole circular economy ideal for food, and realized that another, perhaps more important opportunity was closing the circle from waste to production.
There are many ways to close this circle, but essentially what you are looking for is a method to recover waste streams and turn them into material ready for production. This is where my memories of composting came back, and I started researching the possibilities for urban, indoor composting methods.
The Expected Challenges
Based on my previous attempts, both at home and in college, I had the expectation that compost had to be wet and smelly. Compost seemed to be a nasty process of rotting food and bugs. I thought that it would be a challenge to contain the compost, somehow ventilating it to the outdoors or otherwise containing the nastiness.
Yet, when I started my research, I found many methods of composting that accomplished this without the nasty side effects - but only if you did everything right. In the end, the key component was that your compost should be prevented from rotting by accelerating and assisting the decomposition process. Some methods do this through temperature, some with microorganisms, and some with macroorganisms.
Choosing A Composting System
Temperature would be a challenge, as these systems require a high temperature year round, and I didn’t know if I would be able to control the temperature that closely, especially in an apartment. Furthermore, these systems remain sealed, otherwise gasses can escape. Thus, this system was not for me. Microorganism based systems sounded great, except they are harder to monitor, and require specific conditions to thrive. Macroorganisms (such as pigs or cows) were simply not feasible in any way for apartment based composting (obviously), but worms strike a perfect balance. They are resilient to temperature and environment changes, eat a wide variety of foods, and are relatively low maintenance.
My only question now was - can you keep worms indoors without side effects and with low maintenance? Everything I read online seemed to be for outdoors...
So now I’ve read all the books, the next step was to actually get out there, get some worms and get started!
How To - Vermicompost For Beginners
Setup
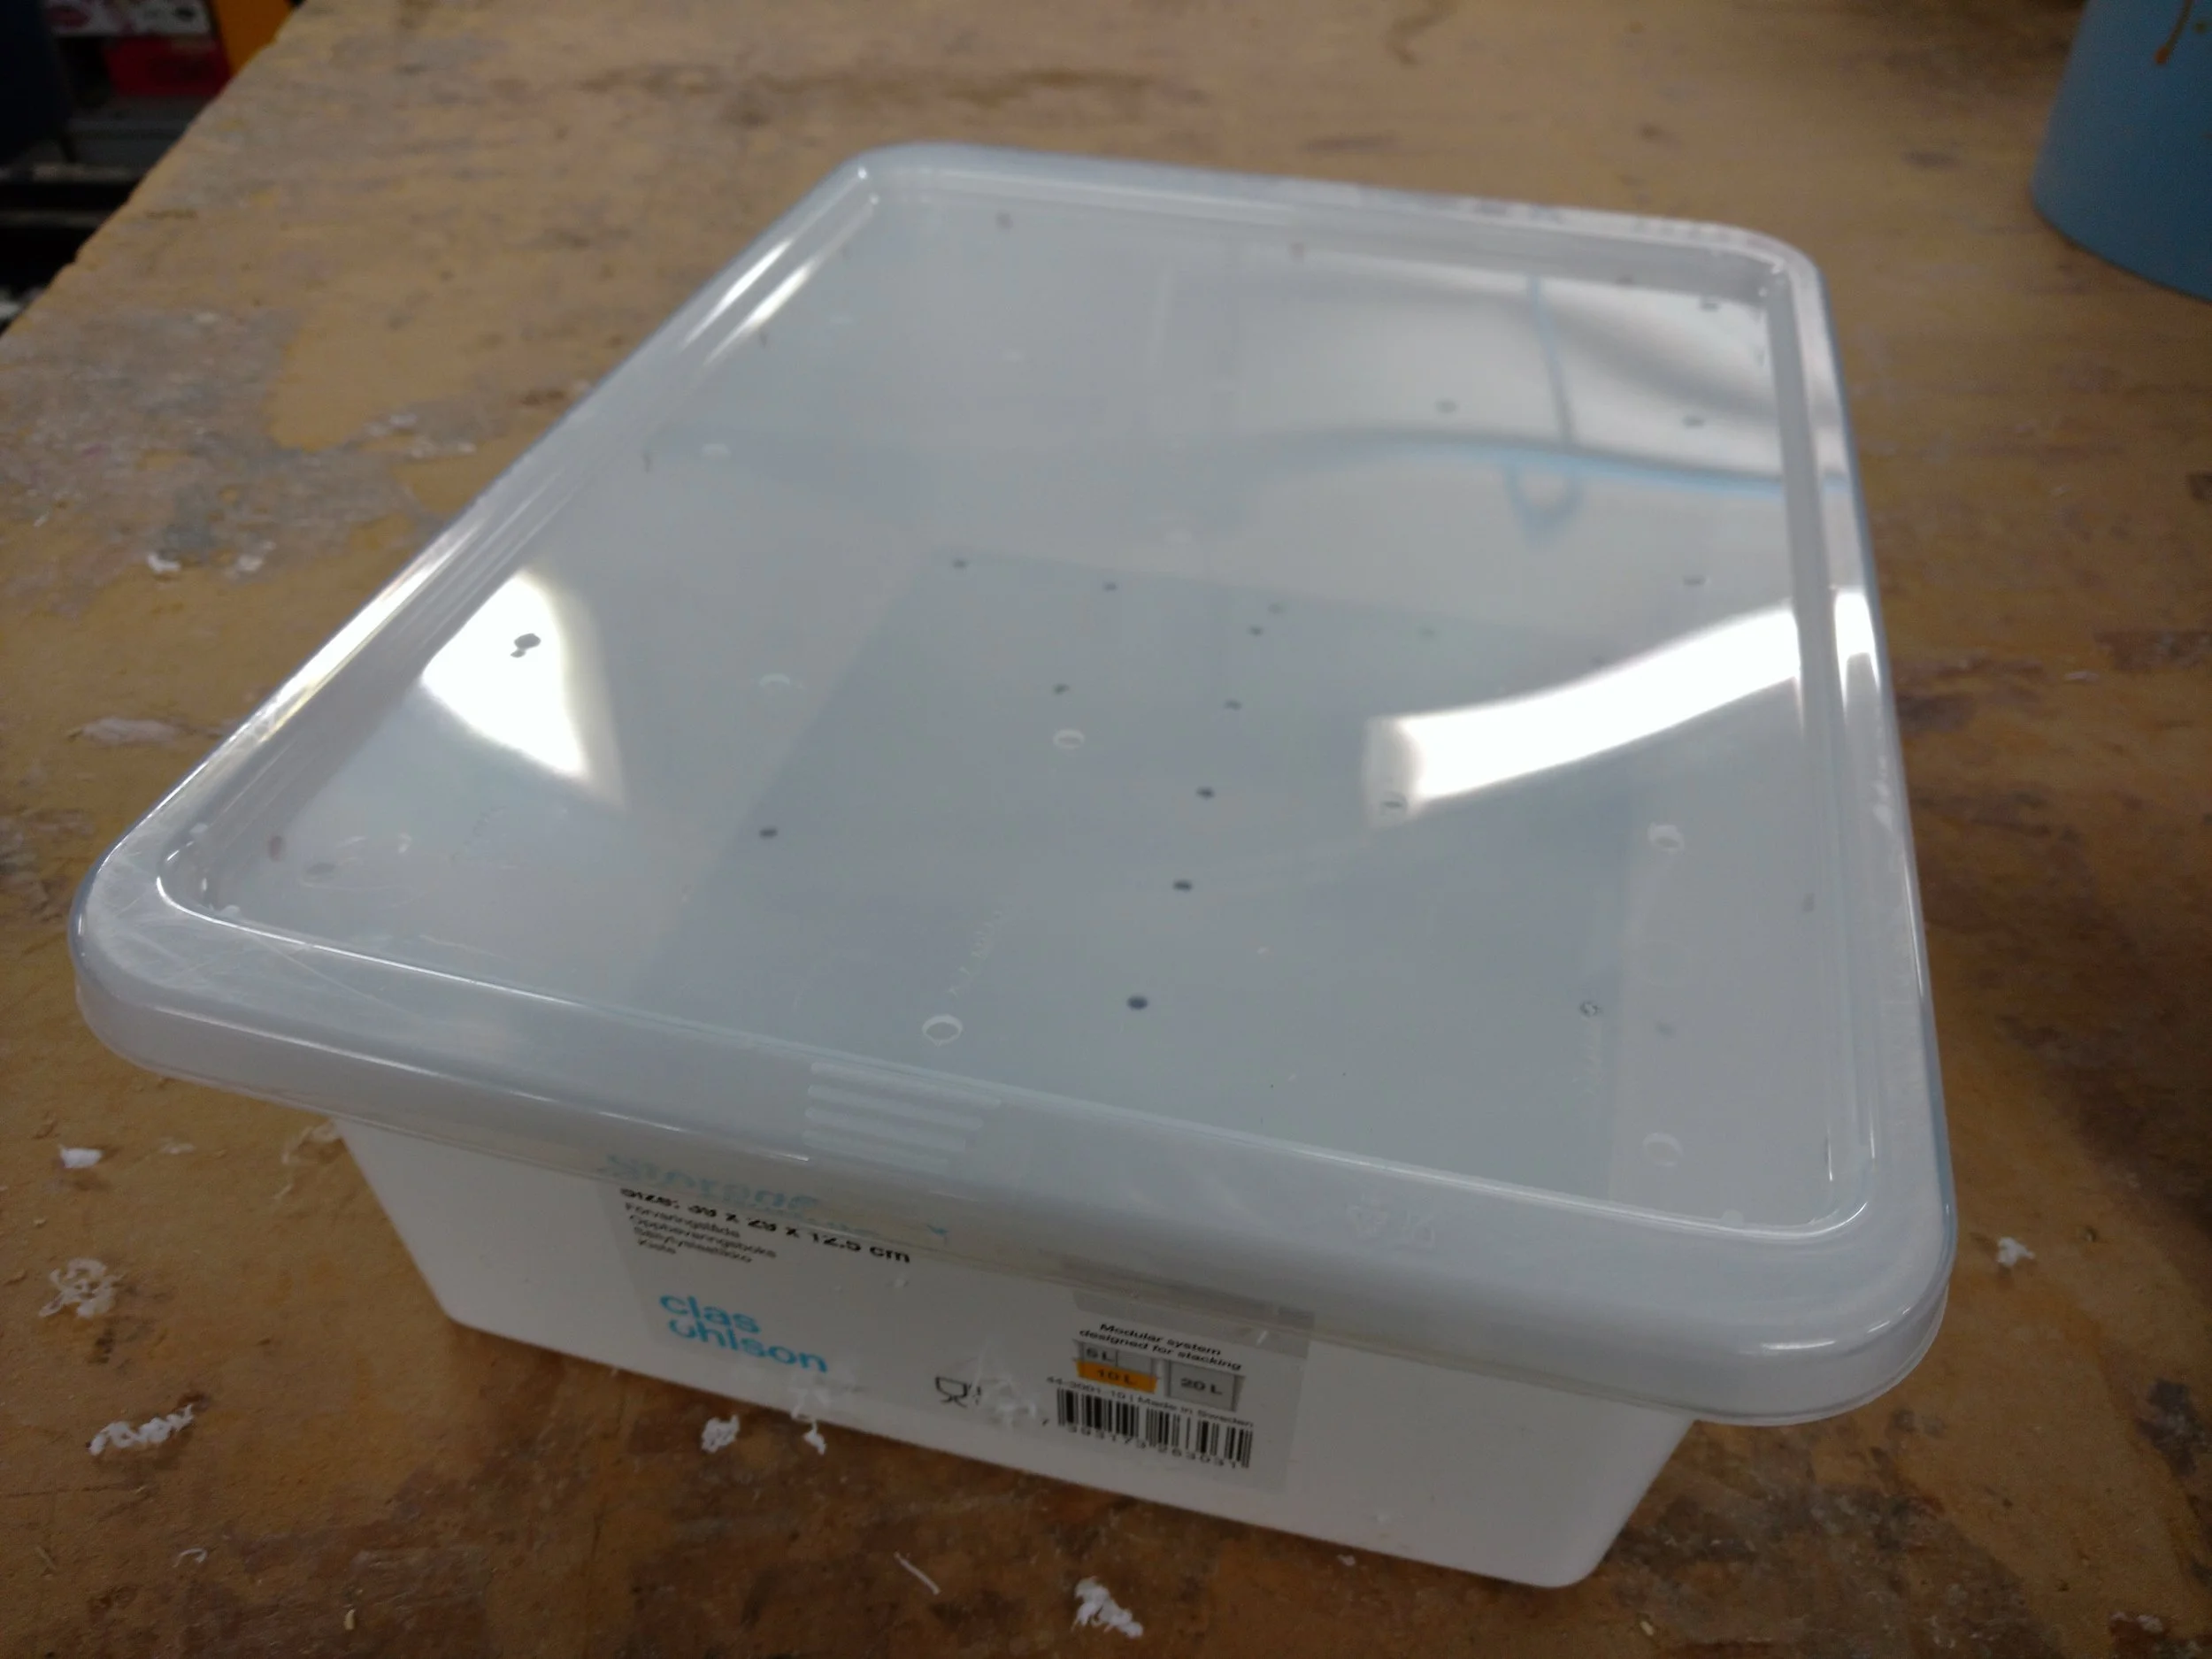
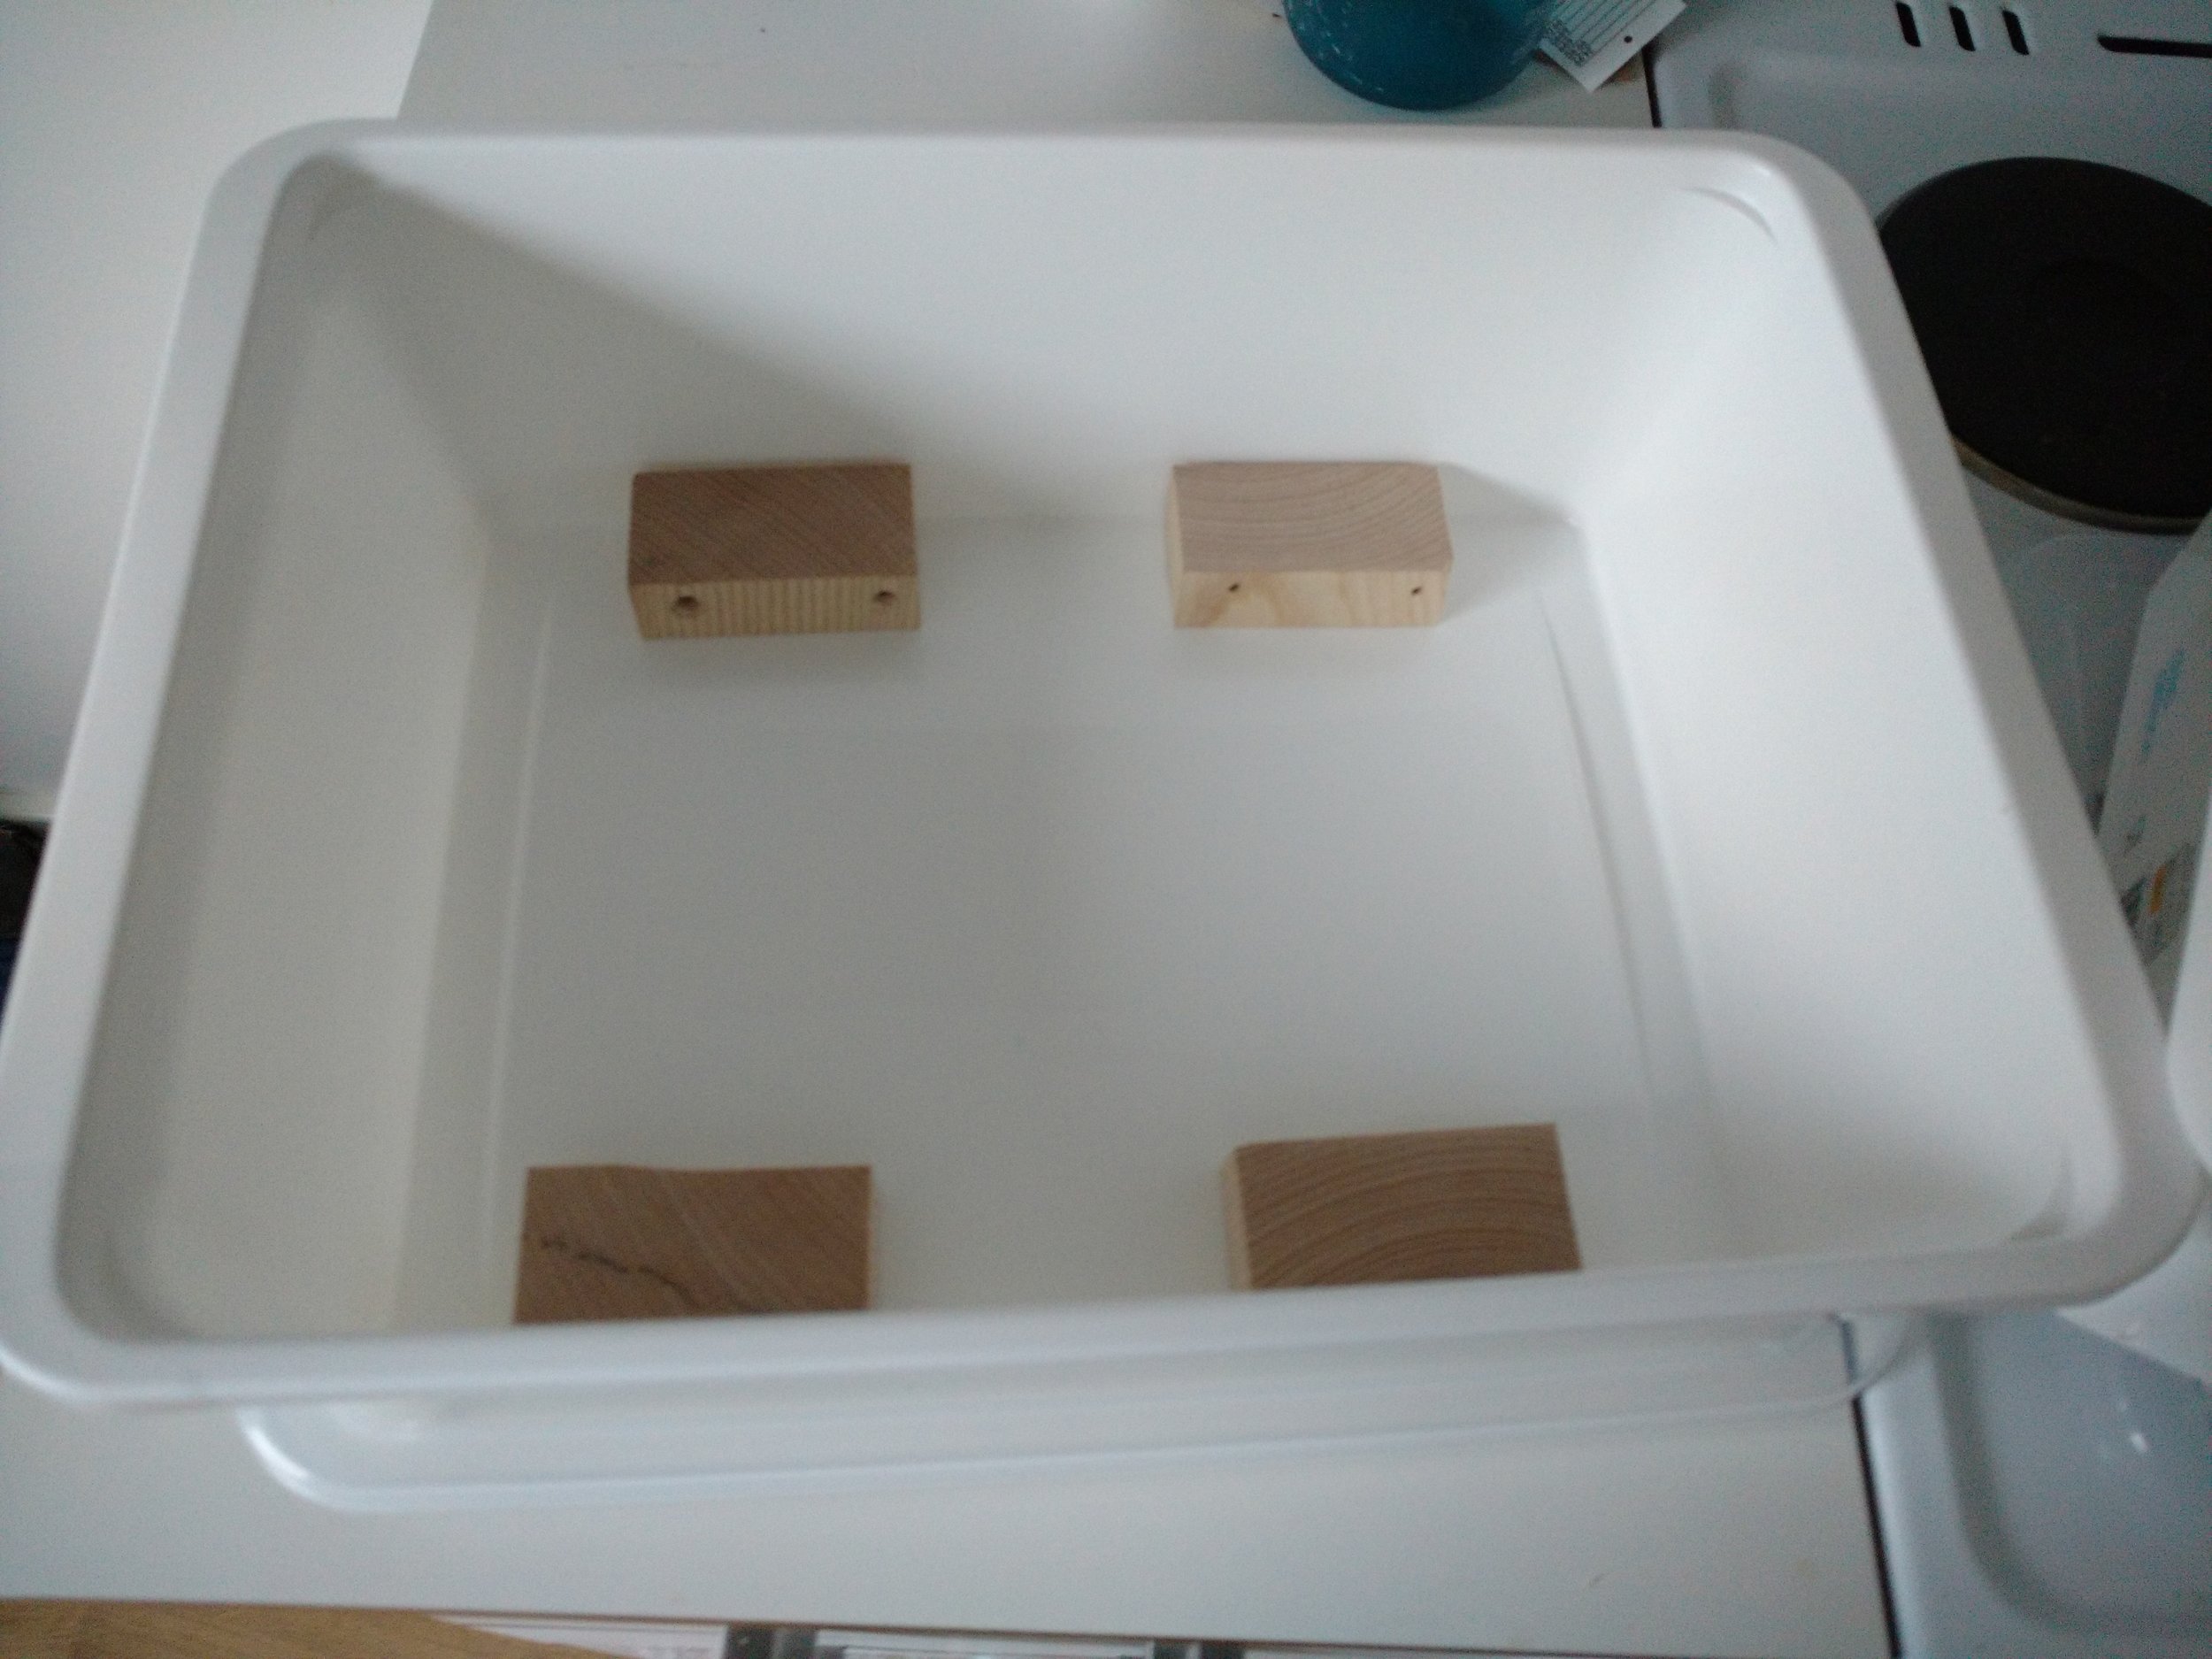
This is a guide for a single bin system, much like I started with. It’s perfect for one person with a medium volume of food scraps. To get started you will need; 2x Plastic bin, 1x Lid, Electric drill with bits, some spacers (I used wooden blocks, a brick works well also), a small amount of soil, some Bedding material (I collected a large number of newspapers), and Worms!
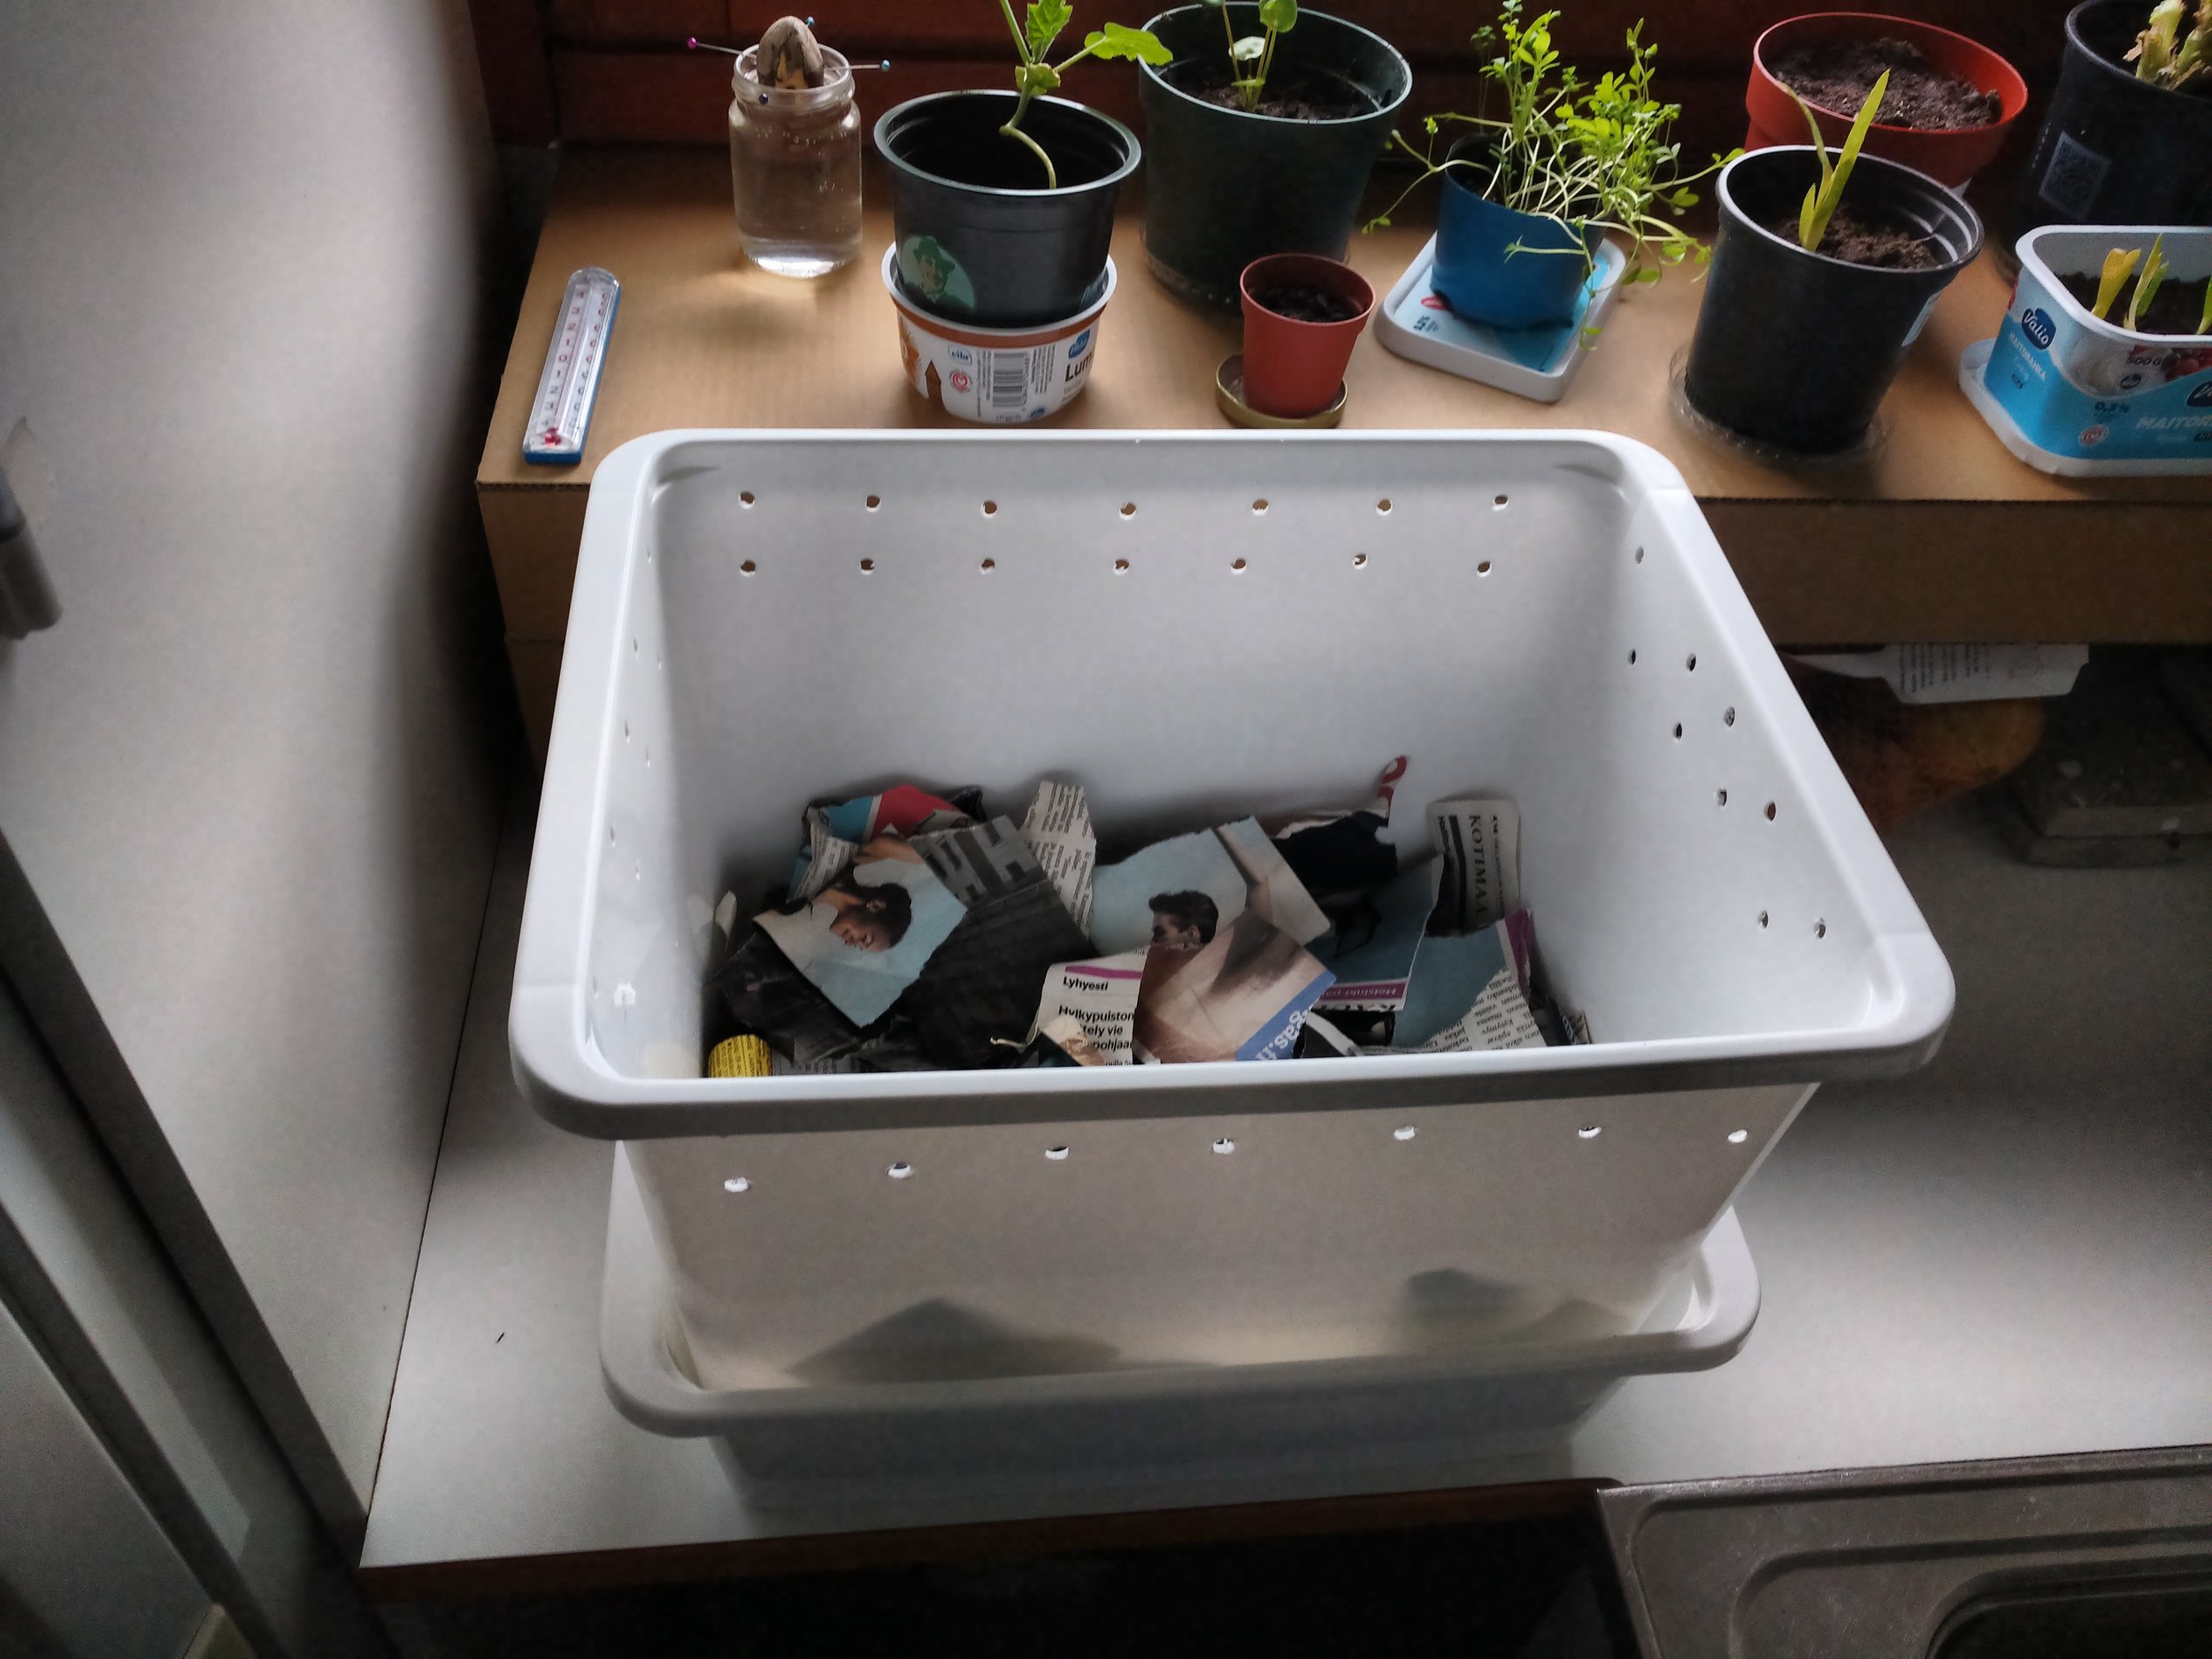
On one of your bins drill a grid of 5-10mm holes in the bottom, and in a ring around the mouth of the bin. In the lid, drill a grid of holes. These holes provide airflow and drainage, to keep the moisture levels low. Too big, and material will fall out the bottom, but too small and there won’t be enough airflow. They should be large enough for the worms to crawl through (don’t worry though, they won’t run away!)
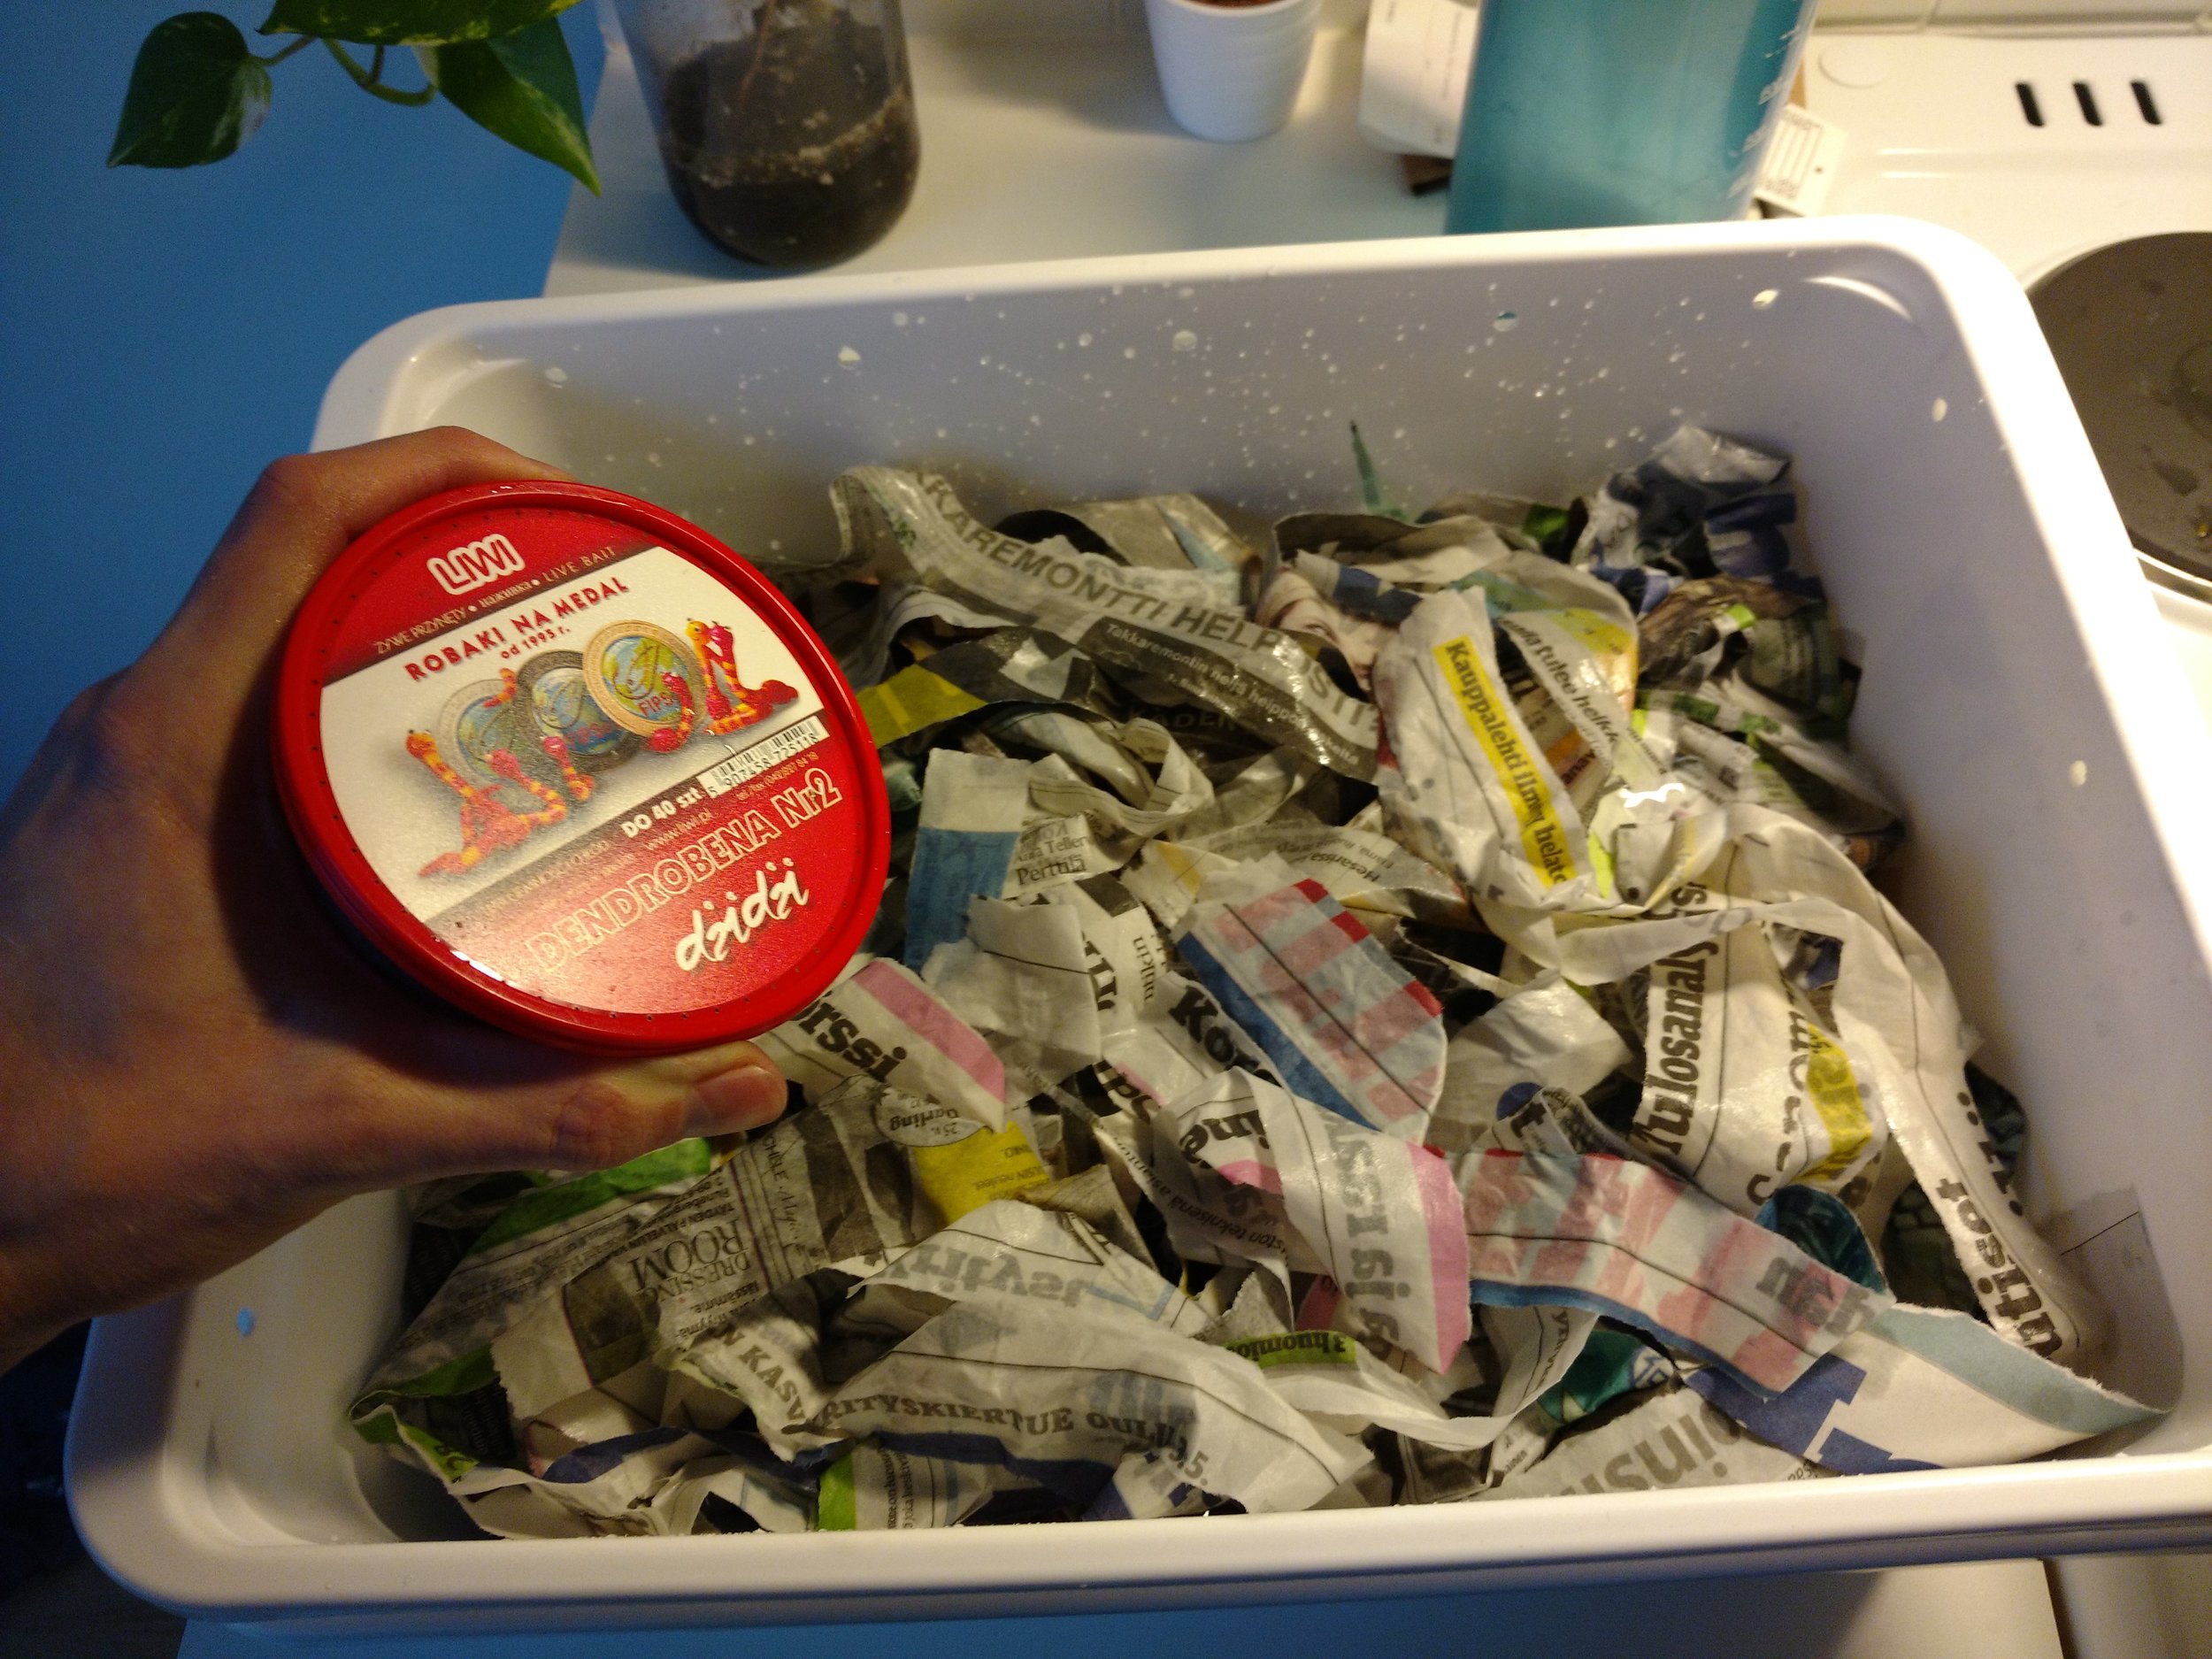
Now your bin is ready for the worms, go ahead and add a layer of bedding material to the bottom of the bin. I found that tearing newspaper into strips no bigger than your hand helps prevent clumping. You will also want to make this layer of bedding quite moist. It shouldn’t be dripping wet, but like damp soil. Keep in mind your worms need to have wet skin! The layer should be 3 to 5 cm deep, at least.
After the first layer of bedding, it’s time to introduce the worms to their new home. I also added some soil, as it helps get the worms digestion started. A generous handful was plenty. They also come with some soil, so I added this in addition. At last, we can add our worms!
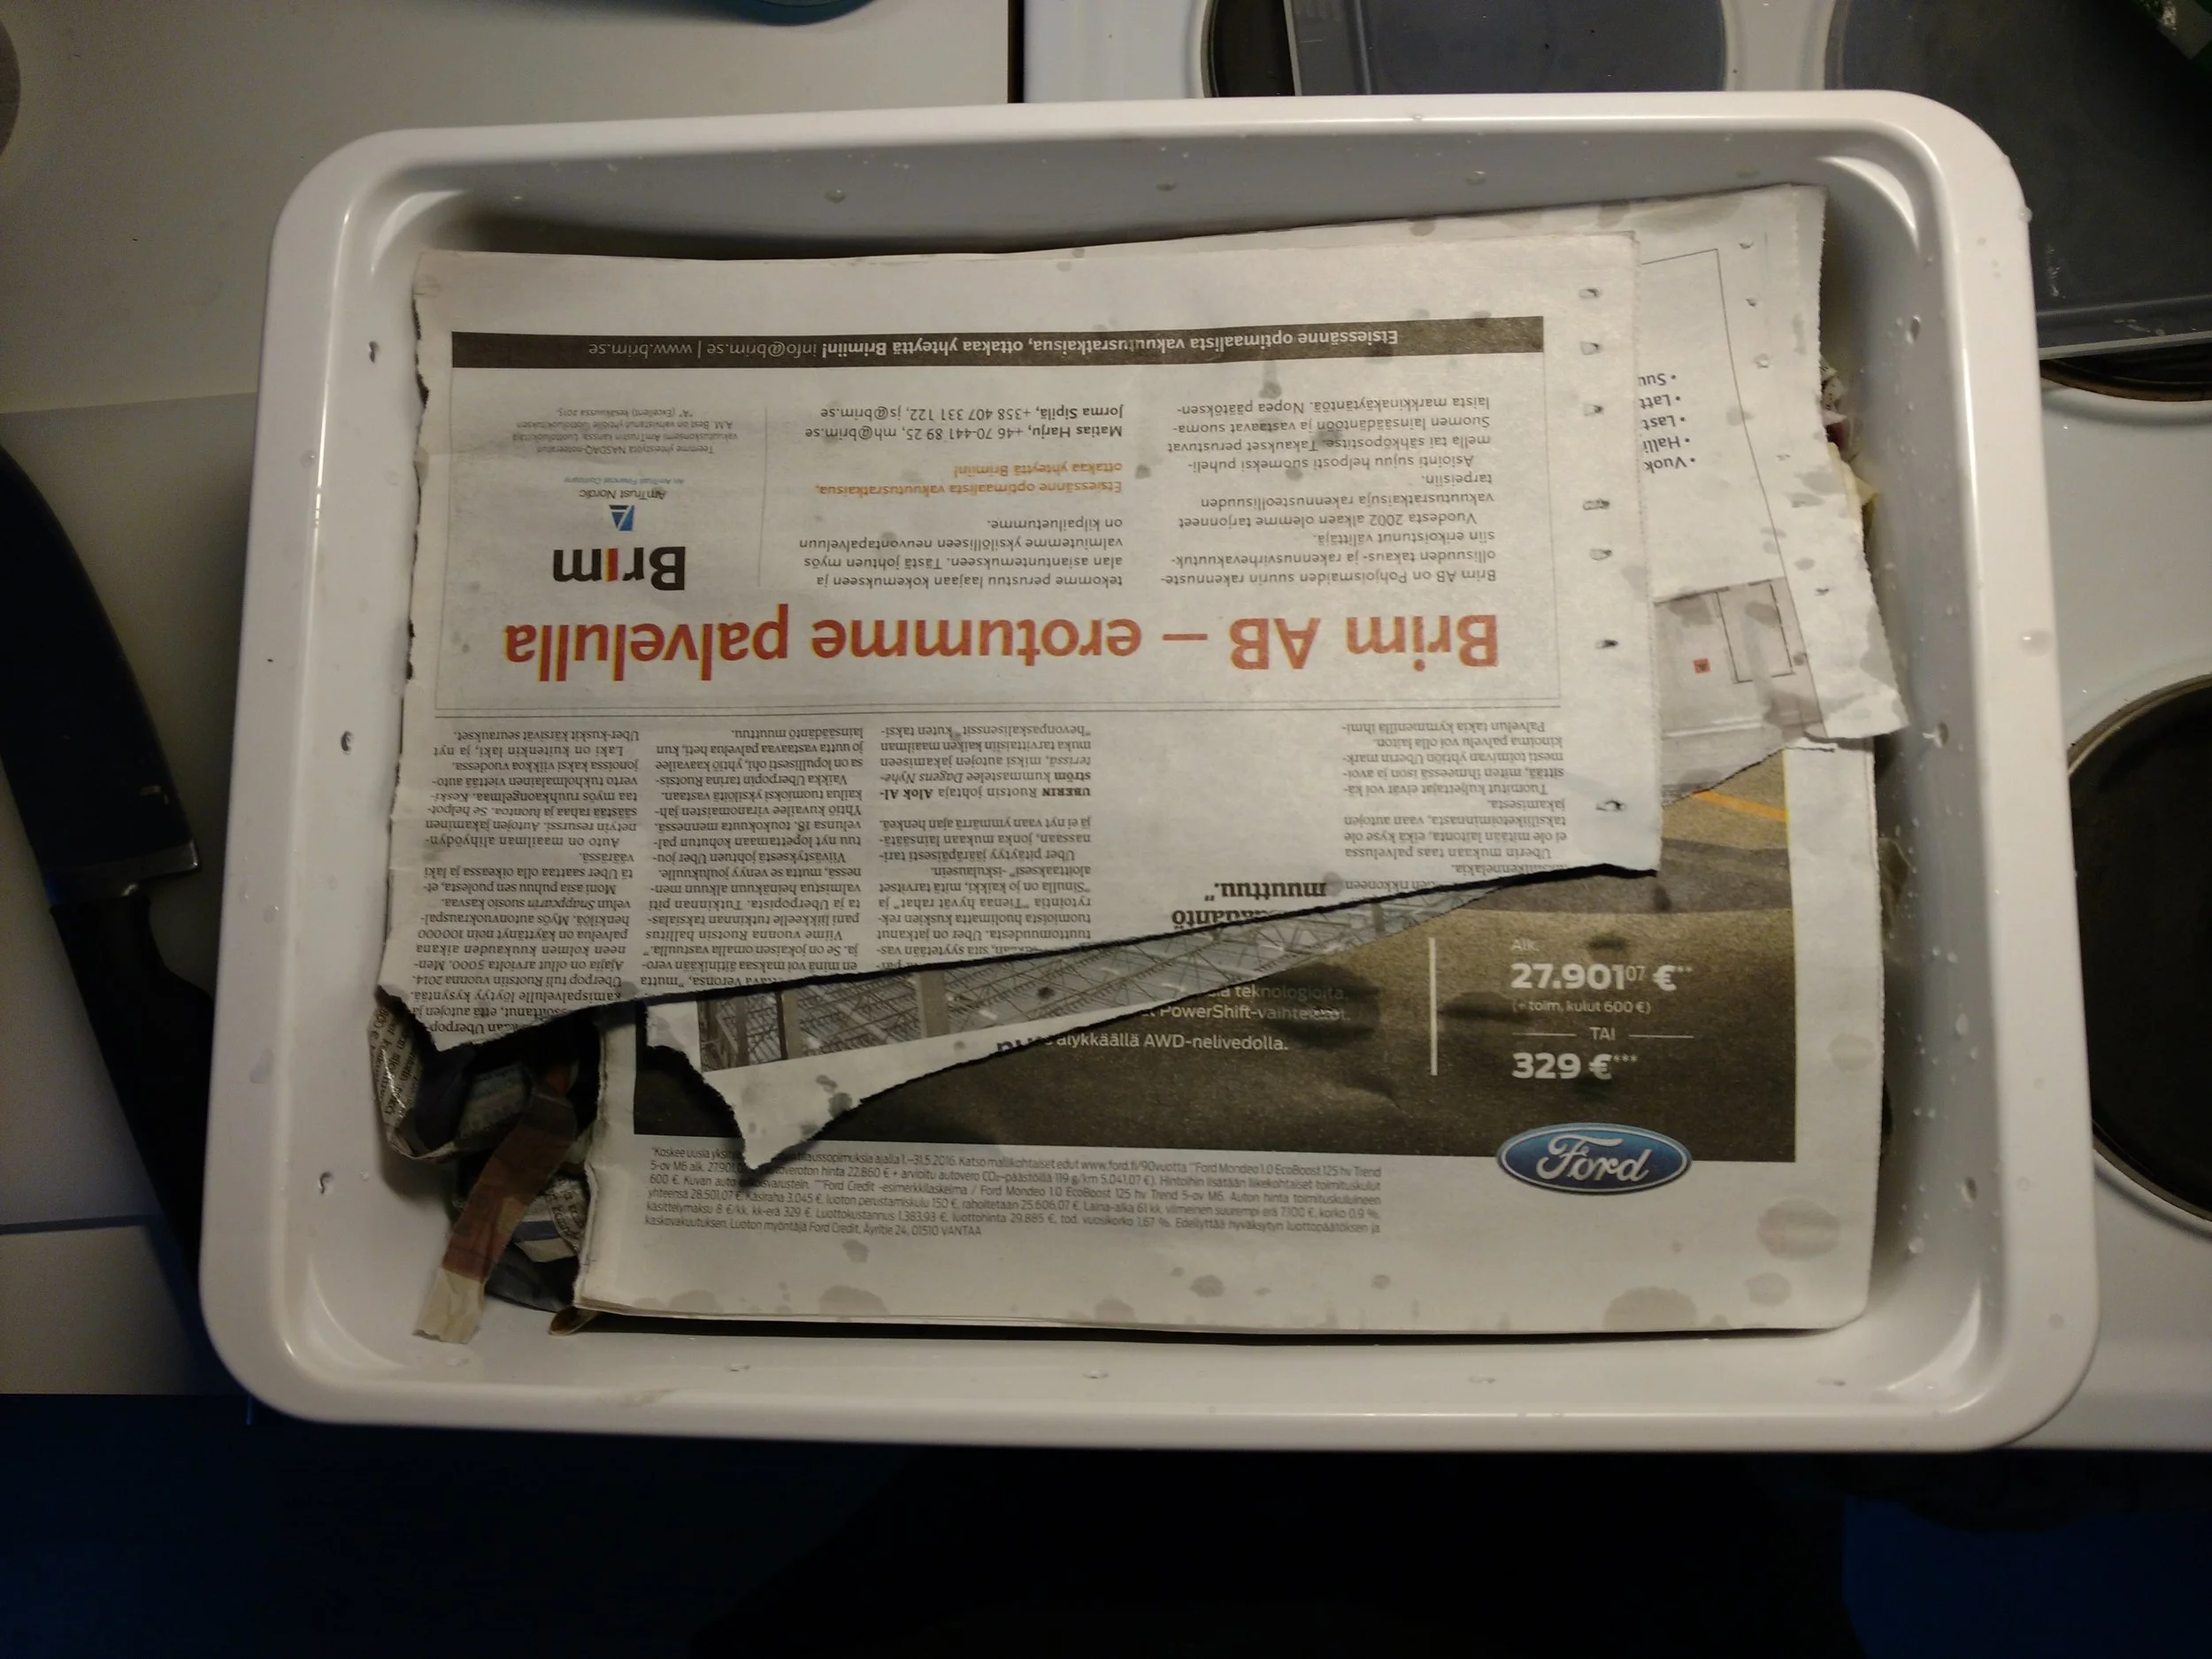
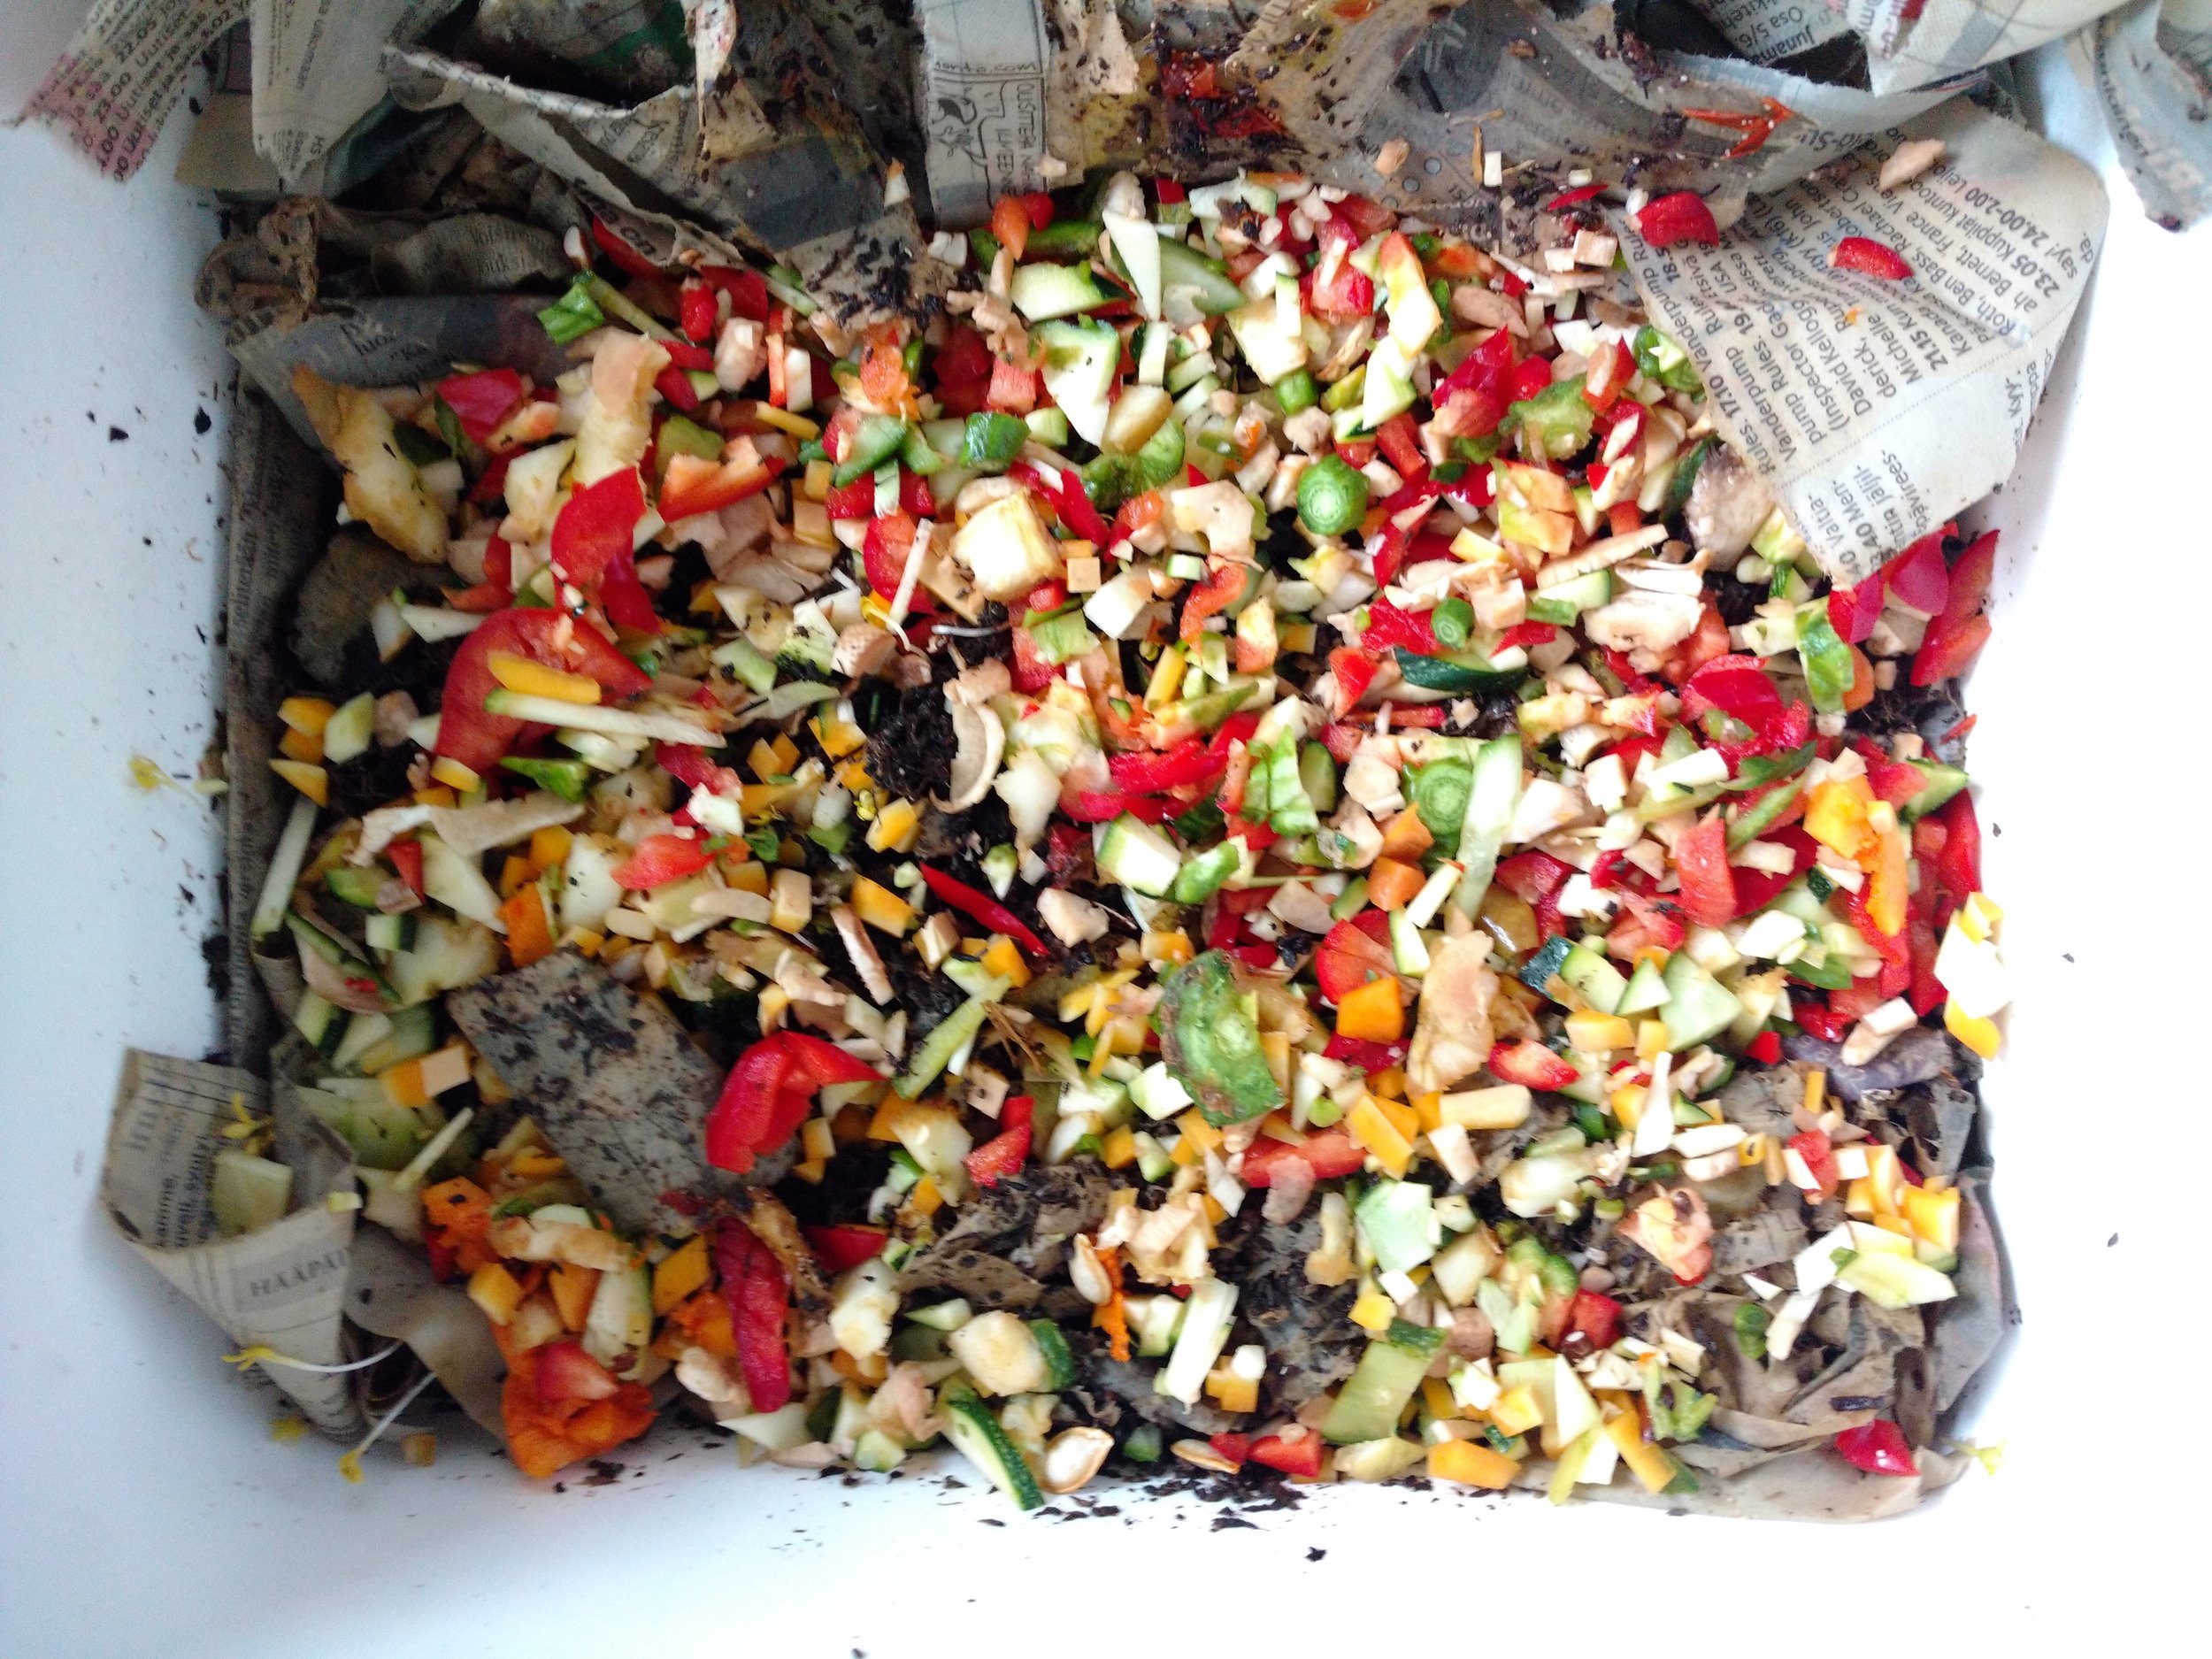
Finally, cover the worms with another layer of bedding the same as the last. Wet newspaper strips, 3 to 5 cm deep at least. You shouldn’t be able to see through the layer, but there should definitely be air pockets between the scraps. I also keep a single flat layer of newspaper on top, to keep moisture in and light out, but this isn’t necessary and I remove it if the bin is getting too wet.
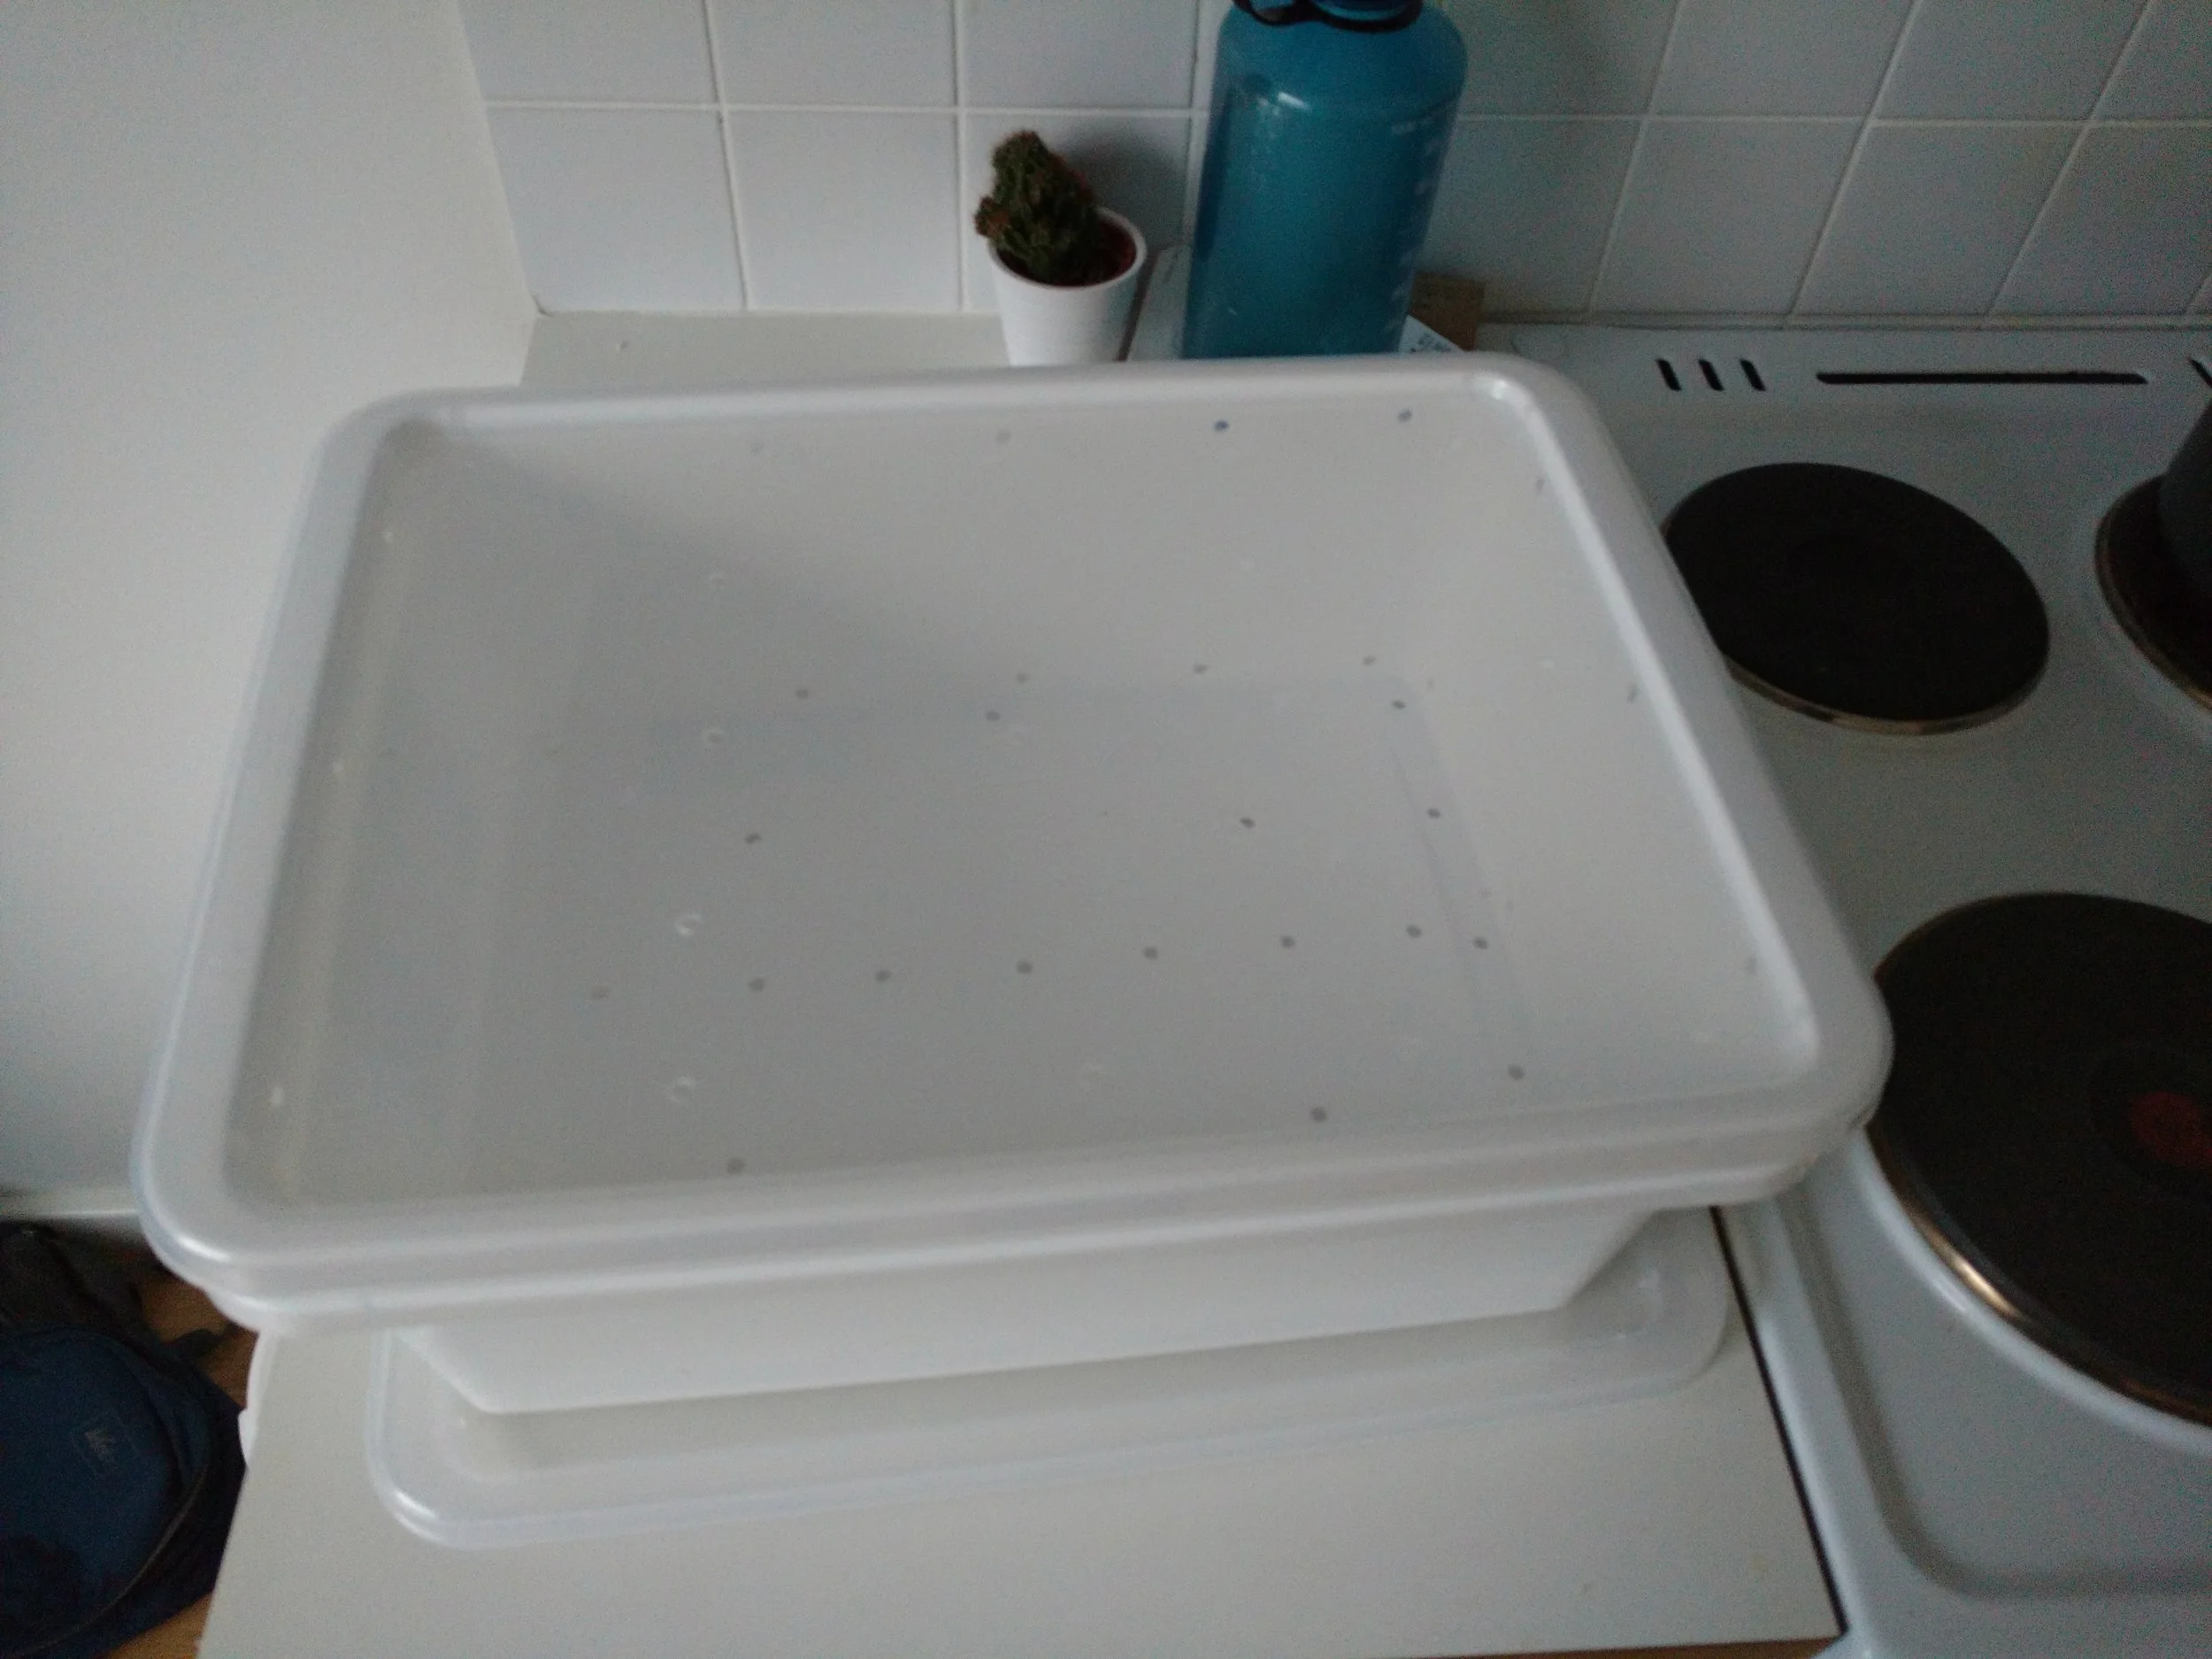
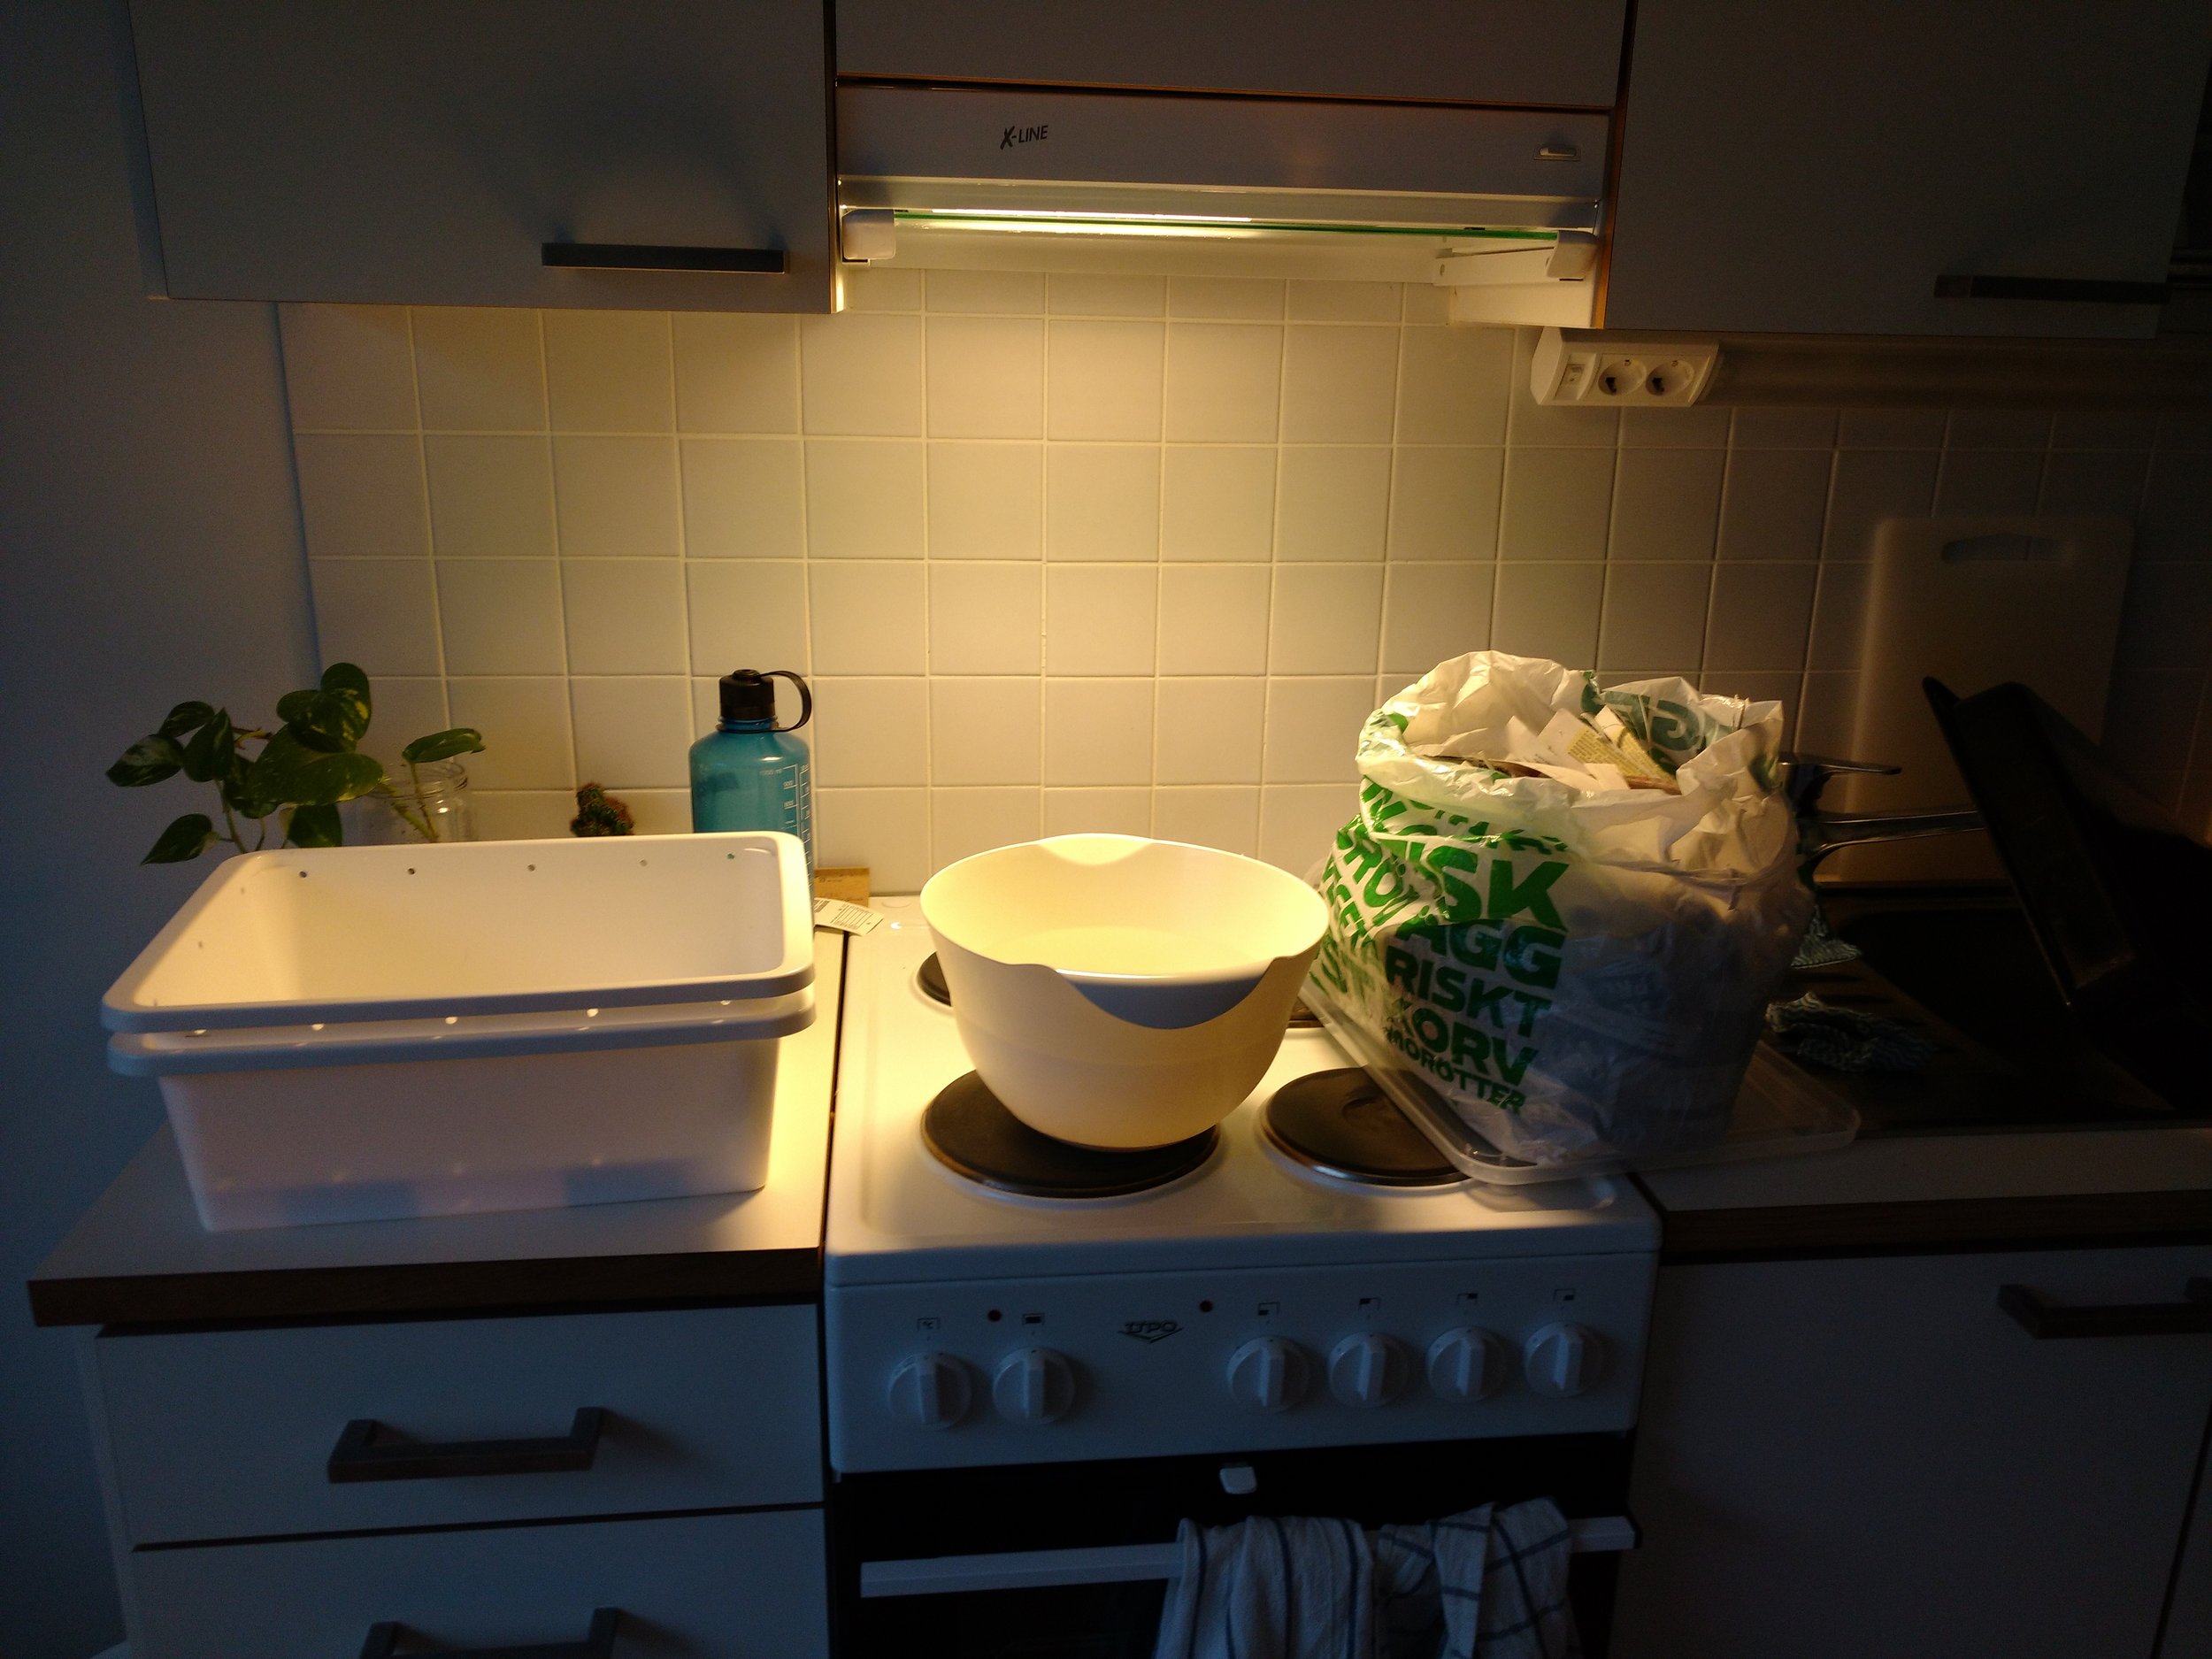
Now, place the bin containing worms onto the spacer, inside the other bin, and the lid on top. PICTURE This will collect any drips and keep everything contained. Place the worm bin in a cool, dark space such as under the kitchen sink.
Congratulations, you now have a working vermiculture system! I waited about a week before adding the first food scraps, and in the meantime started gathering a little bit.
Day To Day
The day to day routine for this vermiculture system is super low maintenance. All I do is collect any food scrap when I’m cooking, and stick it into a container in the fridge instead of throwing it away. That’s it!
Week To Week
Two times a week, I like to feed my worms. You want to leave enough time between feedings so that almost all the food has been digested. If you feed too often then food will build up, start rotting and smelling. When you go to feed them, just pull the top layer back and check what’s leftover! If you don’t feed often enough then your worms will slow their reproduction, and eat too much of the bedding. It’s not a huge deal to let them go a while between feedings, assuming they have some bedding material to chow down on!
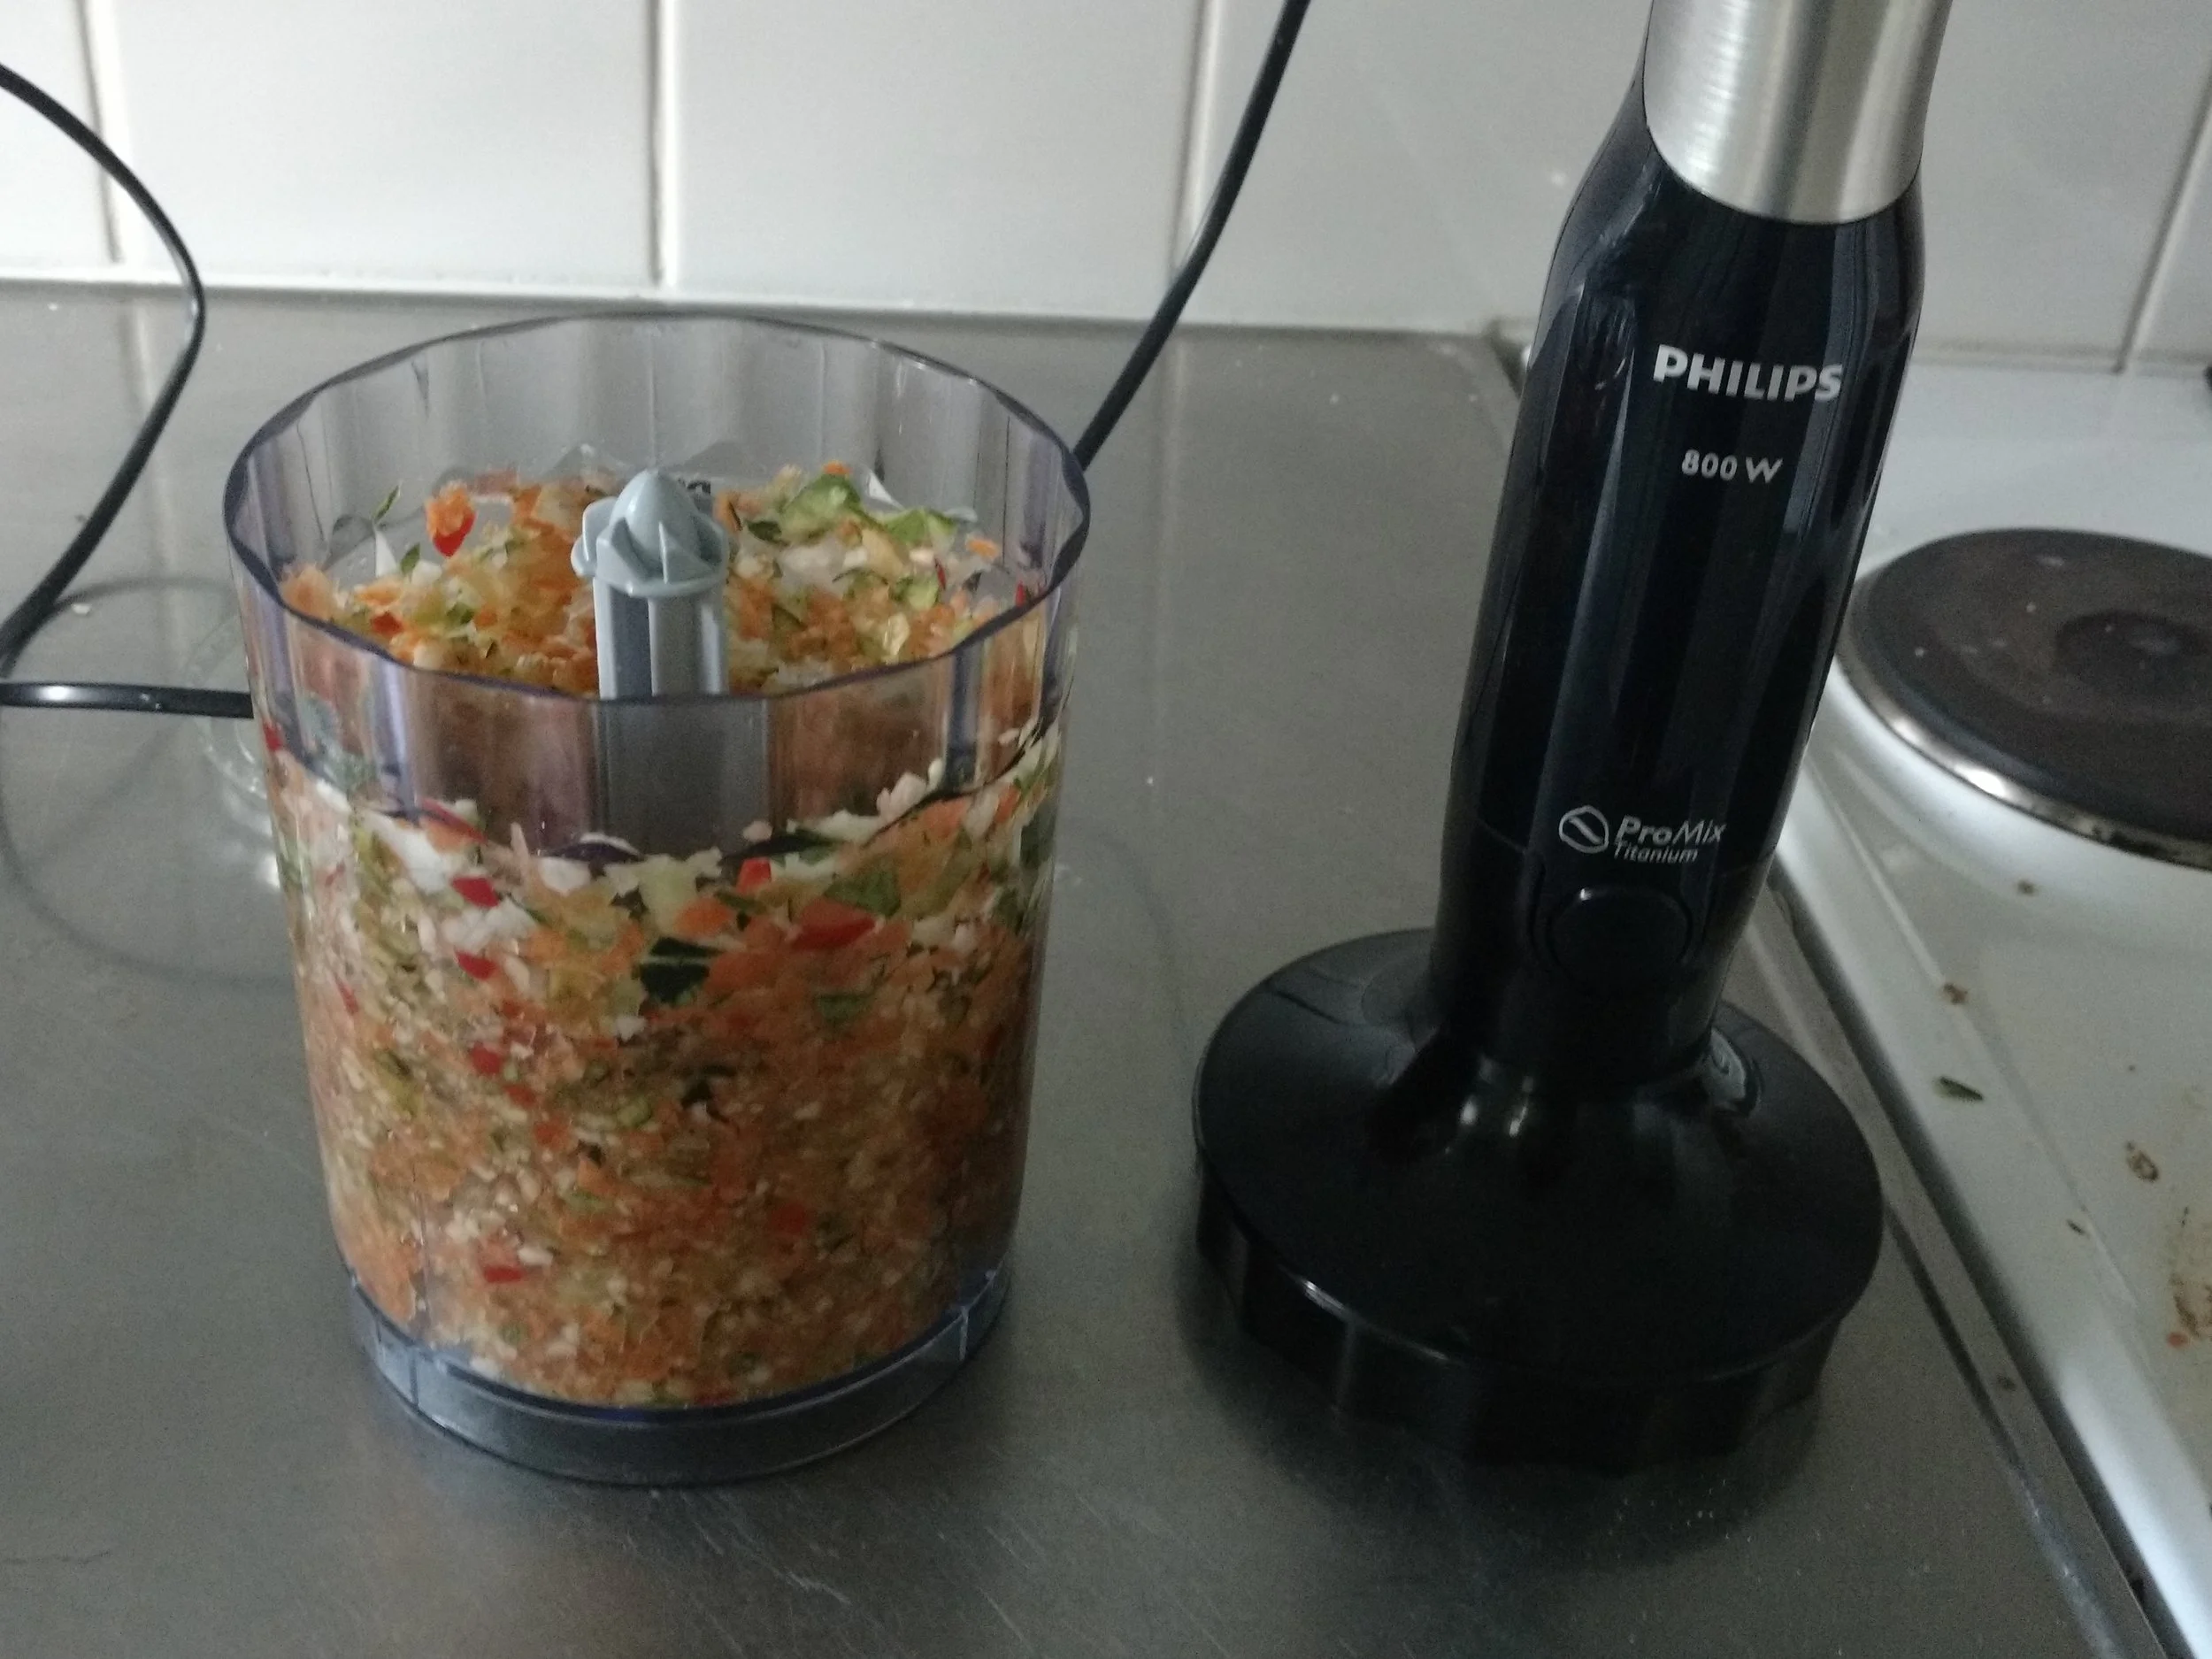
When you’re ready to feed, get somewhere between one and two handfuls of food scrap out. You can go ahead and add it now, but I like to aid digestion by chopping up the food scrap. The easiest way is with a food blender. The food shouldn’t be a paste, but small chunks! Think diced. Place the food below the top layer of bedding, and spread out. Afterwards, just replace the bedding, and put the bin back.
Month To Month
Once a month, I like to go in and check on how everything is going. I’ll first remove the top layer of bedding and check how the digestion is going. Next, I’ll turn the bottom layer over, aerating it and mixing it up. Finally, I replace the bedding material and add more if necessary. This is more for my peace of mind, than something that has to be done.
Seasonally
Every three or four months there should be enough digested material to harvest! This is super exciting, but possible they hardest work involved with keeping worms. It will take a few hours, and a bit of patience.
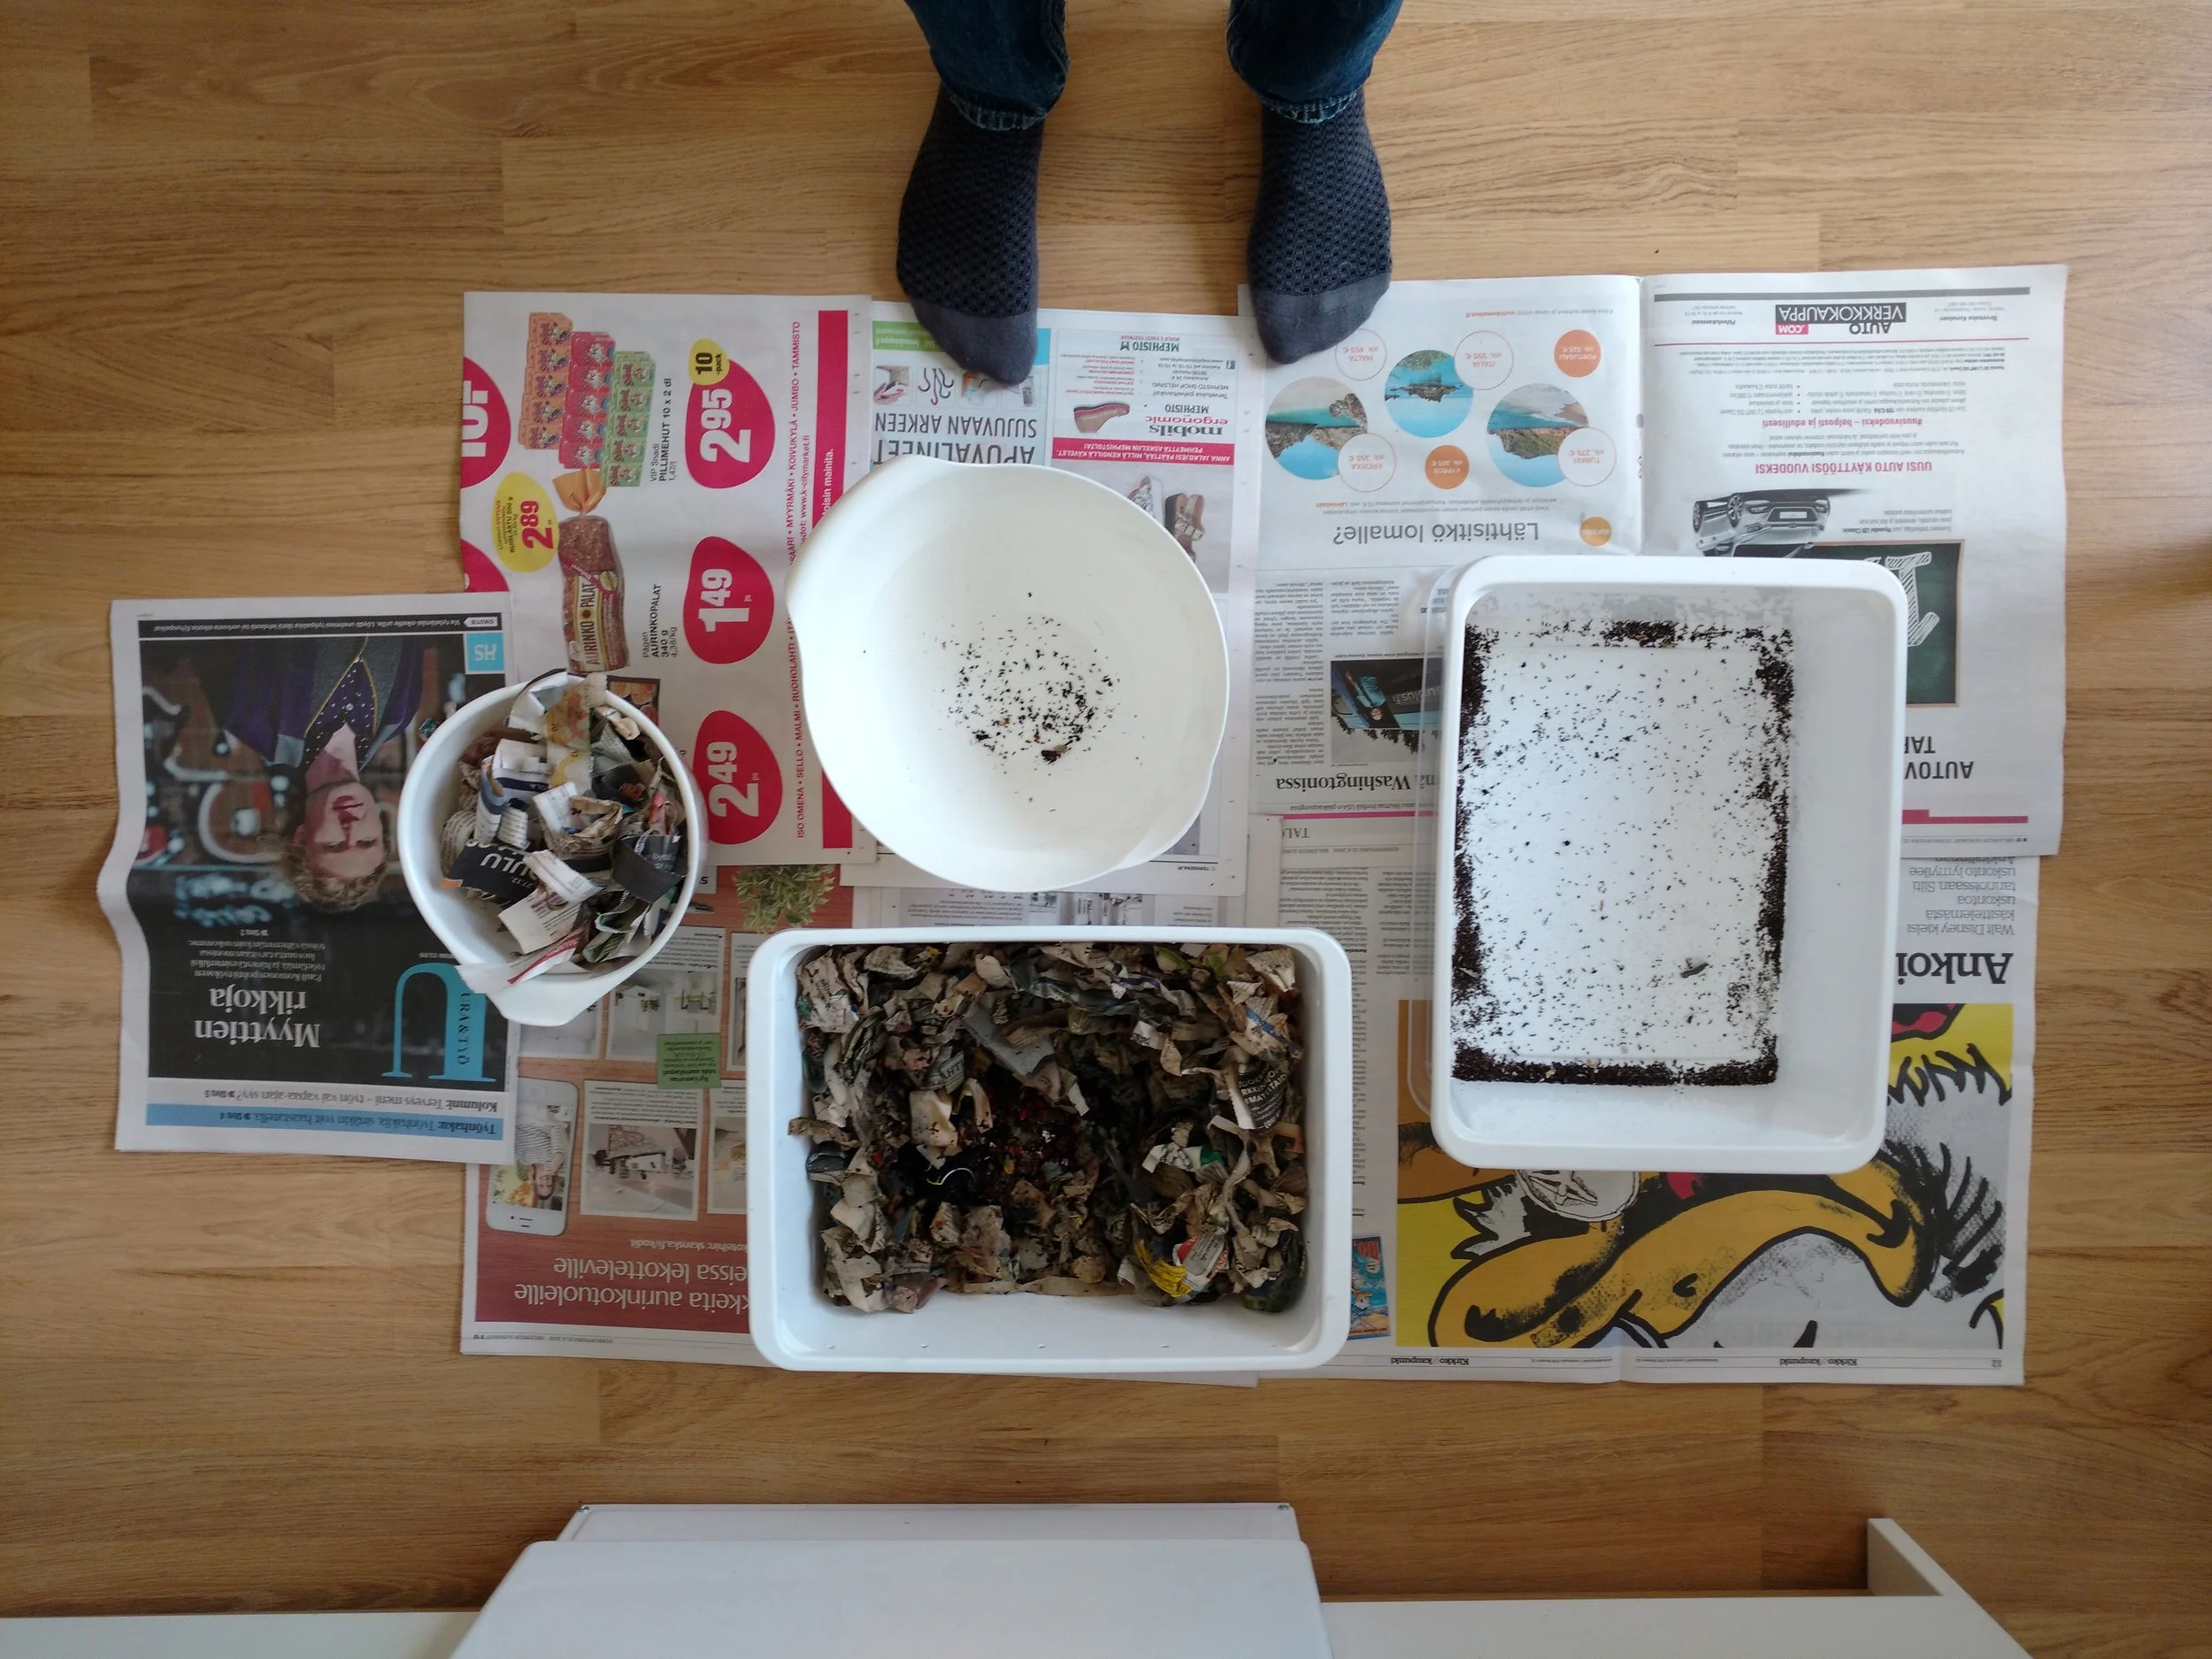
First, turn out the contents of your worm bin (yes, all of it!) onto a clean surface, such as newspaper. Next, sort the large bedding material into a bowl and put to the side. Then remove any food waste that is undigested along with any worms that are poking around and keep them in a bowl. Now it’s time to sift the remaining material, taking out any worms, worm eggs, and undigested material. What’s left should only be the castings. This is almost ready to use, but first don’t forget to put your worm bin back together. Simply follow the instructions for setup, putting in a layer of bedding, then the worms and undigested food, and finally another layer of bedding.
The worm castings should be put into an airtight tupperware and allowed to settle for a few weeks to a month. This just lets them go through the very last stages of decomposition without smelling up. Now you can go ahead and use your worm castings!
Troubleshooting
Uh-oh! Something doesn’t seem right with your bin. Now what? Well, there’s a few variables that you can control with different impacts.
Temperature - If your worm bin is too hot, then you might experience the food in your bin rotting before the worms get to it. In this case, move it to a cooler area, perhaps in a cupboard somewhere. If your worm bin gets too cold, then your worms may slow their reproduction. This shouldn’t be a big deal, but you should slow your feeding schedule to accommodate their lower numbers. Ideally, your worm bin should stay between 17 and 25 celsius.
Light - Ideally, your worm bin would be totally, completely dark. If your worm bin is too light then your worms will be driven deeper into the bin, and may not eat food too close to the surface, resulting in uneaten food. The quick fix is extra bedding on top, an opaque lid, and/or relocating to a darker home.
Moisture - Ideally, your worm bin should be damp but not soggy. I find that if there is moisture on the underside of my lid then it’s verging on too wet - but this will depend on the humidity in your location. If you suspect your bin to be too wet, then add extra bedding and make sure your food scraps aren’t introducing too much moisture. If you suspect it to be too dry, then reduce the bedding amount and sprinkle some water in. The newspaper of your bedding should be wet and flexible, not crunchy.
Timing - Finally, the last easily controllable variable is the timing of your feedings. Too long between will result in a high carbon content castings, whereas too short betwen will result in rotting food and unpleasant odors. Ideally almost all the food will decompose between feedings.
Some worm keepers measure the nutrient content and pH of their systems - but I’m not that scientific about it. If you’re interested in those topics, check out the websites in the resources section.
What I Tried
Overall, my Vermicompost system has gone through 2 major iterations, and countless little experiments. In this section I want to take you through the unique challenges and situations I faced, rather than a general how to. Thus, this is specific to my context living in Helsinki, moving in with my girlfriend, and more.
Finding Materials In Helsinki
Materials list; 2x Plastic bin, 1x Lid, Electric drill with bits, some spacers (I used wooden blocks, a brick works well also), a small amount of soil, some Bedding material (I collected a large number of newspapers), and Worms!
The first item to source was the plastic bins. The requirements meant it wanted to be deeper than it was wide, be opaque, and be nesting. I had an expectation of American totes which were familiar to me, so my first stop was the hardware store. Surprisingly to me the hardware stores didn’t carry such items (K-Rauta and Alppirauta in particular). Instead, I found the best totes were for ‘home goods use’ and thus sold in home goods stores. The best value was in Clas Ohlson, with runners up being K-Citymarket and Prisma. The biggest challenge is that I didn’t find an opaque lid for my system, but I decided that I could avoid that by putting newspaper inside the system and keeping it in a cupboard. No problems so far with this decision.
Then I needed to drill holes. Luckily, the workshop at Aalto provided this facility to me, so I didn’t purchase necessary equipment. I also sourced my spacer block from the wood workshop - but wood is not the best material for this application! Make sure you seal any wood parts.
Soil, well that’s everywhere! Except it was January, so I used some potting soil I had purchased previously.
Bedding material was take from the newspaper bins in the trash house. Just make sure it isn’t contaminated! I then sat down and shredded a large amount by hand, and kept a large stack in the cupboard.
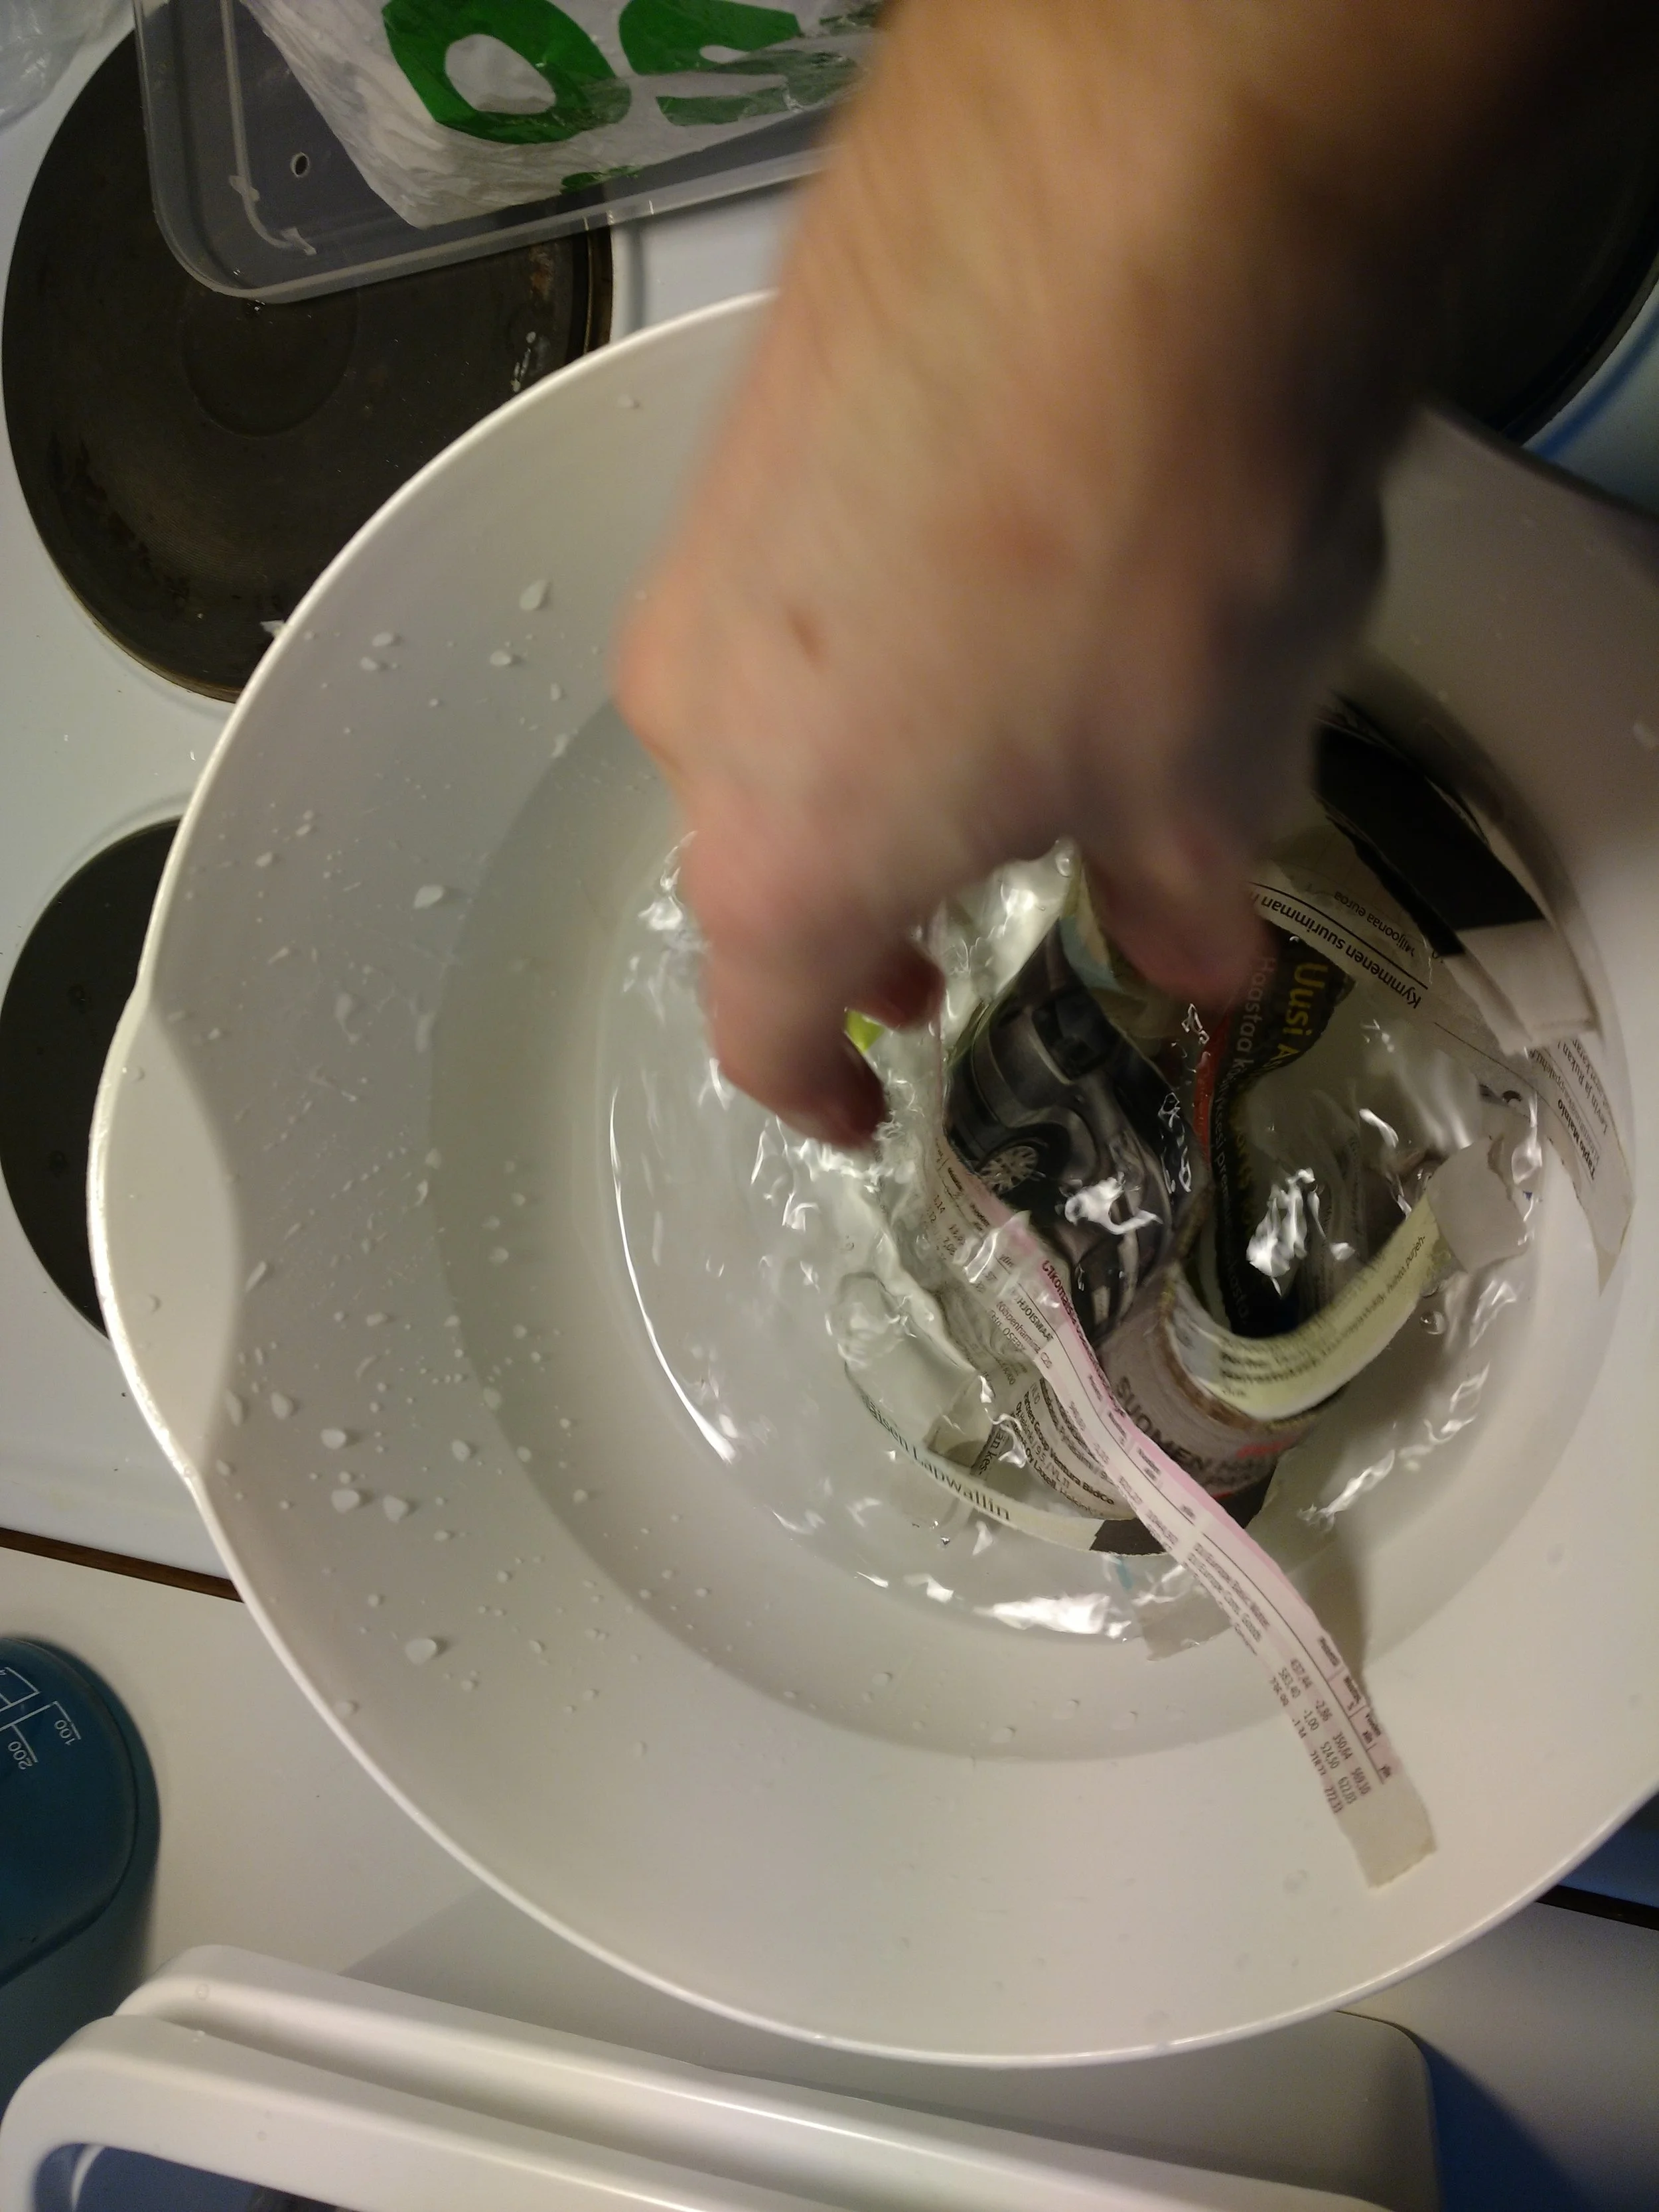
Finally, the worms. Worms are a challenge, because you don’t want to just dig up earthworms which don’t have the right feeding habits for a vermicompost system. I sourced my worms locally from a fishing supply store that kept Red Wrigglers. There are many of these stores in Helsinki, and just search ‘Kalastus’ to find a local one. Out of season, you can also purchase worms online, but I still found some worms!
Total cost so far was about 20 euros, mostly for the bins. Additionally, I later picked up an electric blender from Verkkokauppa to speed the food digestion. This isn’t necessary, but saves time chopping up food scraps. I would recommend it if you have one.
Frustrations With The First Design
The first design, as pictured, is the same as I reccomend in the How-To section. This is because it’s better for starting out, works well with a low volume, and uses minimum materials. This creates two sources of frustrations. The first is that harvesting a single bin system involves an afternoon of sorting worms from dirt - not exactly low effort. The second was once I moved into a bigger apartment with my girlfriend we produced too much food waste for the system, and I wanted to upgrade to a larger system. While these aren’t huge problems, I figured there could be a better way.
Second Design And Problems With That
The second design uses three bins instead of two. The top bin is ‘active’ and where your worms should be and where the composting happens. The middle bin is ‘inactive’ and contains digested compost that is almost ready for harvesting. The bottom bin is the same in the old system, to contain any ‘leakage’. When you are ready for your first harvest with this system, you simply put the middle bin on top - and leave the compost where it is. After a few weeks, all the worms will leave the middle bin, making it ready to tip out and store without (much) sorting. Then, just put it back on top and repeat. This system improves your efficiency.
I also switched to bigger buckets, allowing for a larger worm population. Over two weeks after switching to the larger bins I increased the amount of food waste given each feeding, and the worms caught up. This solves the two frustrations with the original system.
The only downside I’ve found is you have to keep an eye on the lower bin, to make sure it isn’t getting too wet. If it does get too wet, you need to increase the airflow! Otherwise you risk creating a perfect environment for fruit flies. Checking the lower bin can be a bit annoying if your upper bin is quite heavy, but shouldn’t be neglected.
I’ve now used this second design for one harvesting cycle, and I found that the castings were of a different texture to the previous - a little more ‘clay’ like in consistency. I’ve also found, through small experiments, that this system is more willing to digest difficult material, as the larger number of worms accelerates digestion.
What I Have Grown/How I Have Used The Vermicompost
I’ve mixed the castings with soil to grow sprouts and I have planted lettuce and a pumpkin seed, as well as some decorative plants. I use a small amount of castings per plant so as not to overwhelm them with nutrients. The plants seem to do very well, and the compost makes a difference.
The pumpkin seed I actually found growing in the worm bins, so we rescued it and planted it in a little pot. It is now taking over the whole window sill, and doing super well!
I do have more castings than needed, but I’m storing it and next year I think I’ll do a much larger grow system to see how much food I can grow! That’s next year's experiment though.
The other thing I found interesting was people's reactions to vermicomposting. I expected people to find it strange and gross, but that’s rarely the case. Generally people would have no idea I keep worms unless I tell them, which I’m not likely to unless we’re discussing something similar anyways. Therefore I think the people that would really be grossed out by it are ‘self-selected’ from hearing about it. Nonetheless, I did tell one friend about it after they asked about my pet project - to which they replied they would never come to my apartment! They quickly forgot about the worms, and came over irregardless. My girlfriend is also sustainably minded, and she even fed the worms for me while I was out of town for two weeks. Without her cooperation, I’m sure I would have had to find a different Pet Project once we lived together! Finally, I have one friend who has been looking for a composting system to do and has tried to keep food scrap in a bin. For a while this wasn’t unpleasant, but after a few weeks the flies and smells took over and the whole idea of composting was scrapped. I suggested that they try worm composting, but the idea seemed too complicated and high maintenance for them. I suspect that if they tried it, they would have a different opinion!
Conclusion
Is Indoor Vermicompost A Feasible Endeavour?
In short, yes. It’s not without it’s risks, but it is certainly possible (in fact downright easy!) to keep worms in a small studio apartment without anybody else knowing.
Was It Worth It?
Without a doubt! I learnt a lot about what I eat, how much waste I produce (both organics and not, and I’ve become more aware of my consumption habits. I don’t think it makes sense financially, as even the 20 euro setup cost is more than the cost of potting soil, but I would still recommend it to someone who is eco-minded as a nice experiment.
Now What?
For now I will keep feeding my worms and cycling the system building up a backlog of castings to be used. Next year I plan on building an indoor garden, which will require some planning and attention.
If you want to give vermicompost a try, feel free to drop me a line at joseph(dot)savage(at)aalto(dot)fi. I’ll try to respond and help you out.
Best of luck, and happy farming!


Appendix
Terms and Definitions
Here are a few common terms that you may be unfamiliar with:
Bedding - In a worm bin, the bedding of the worm will be a fibrous organic material (Also referred to as carbon, such as paper) that provides a habitat for the worms, absorbs moisture, and blocks out light. It will be both under and over the food scraps. The bedding will be eaten along with the food scraps to create worm castings.
Carbon - Worms need a balance of carbon and nitrogen based material to be healthy. In my system the carbon mostly comes from the bedding materials. In general ‘brown’ means carbon based, and ‘green’ means nitrogen based (eg, lettuce is green, therefore nitrogen)
Castings - Castings, or worm castings, are the composted material that the worms cast off. This is the final material outcome from the process, and can be used as fertilizer as a solid or liquid (see worm tea)
Compost - Technically, compost is not the same as worm castings and a vermicompost system puts out worm castings. Simply put the difference is in the nutrient content and consistency of the product.
Nitrogen - Worms need a balance of carbon and nitrogen based material to be healthy. Nitrogen tends to refer to the food scrap in your system. In general ‘brown’ means carbon based, and ‘green’ means nitrogen based (eg, lettuce is green, therefore nitrogen)
Pests - These are any unwanted visitors to your worm bins. These could be harmless, such as mites, or harmful, such as fruit flies. Generally pests occur when the bin is too wet and/or too much food scrap is allowed to build up.
Vermicompost - Same as Castings
Waste - In my system, the only waste that goes in is food scrap. This is uncooked food left over from food preparation, and is wholly vegetables and fruits. If you are wondering what can be put into your worm system, the answer is usually a quick google away. IF that doesn’t turn up an answer, it doesn’t hurt to experiment! (maybe).
Worm Castings - Same as Castings
Worm tea (or Vermitea) - Liquid fertilizer made from worm castings. Nutrients in the castings will dissolve into water when mixed and drained.
A more comprehensive list of terms can be found here: http://working-worms.com/the-worm-dictionary-and-vermiculture-reference-center/
Resources
Here are some links that I found useful and have referred many times;
Google-fu
Add the food to 'vermicompost' and you'll get recommendations of how to use that food scrap in your worm bin. (Example; the search term "vermicompost potato" will result in page discussing whether or not worms will eat potato waste)
Youtube tutorials
How to get started
https://www.youtube.com/watch?v=kDIlGzZnKy4
Apartment Vermicomposting 101
https://www.youtube.com/watch?v=gbjX2tt-oQw
https://www.youtube.com/watch?v=n9OhxKlrWwc
N.B. worm castings != compost.
Key websites:
Working-worms.com
Wormcompostinghq.com
Vermicompost.net
wikipedia.org/wiki/Vermicompost (no, really, this is a great guide!)
http://lancaster.unl.edu/pest/resources/vermicompost107.shtml
http://cwmi.css.cornell.edu/vermicompost.htm
Troubleshooting:
Smelly composting help
http://www.sustainabletable.org/114/vermicomposting-101
http://www.vermicompost.net/common-vermicomposting-mistakes/
https://www.youtube.com/results?search_query=vermicompost+indoor
Types of worms
http://www.livestrong.com/article/118846-types-fishing-worms/
Can I put X in my compost?
http://www.eliteabar.com/blogs/culture/7764429-tea-leaves-in-your-garden-composting-with-tea-leaves
